Repository Conventions
When using Subversion / TortoiseSVN I tend to use the ‘conventional’ repository layout by adding branches/tags/trunk directories to the root: (Please click on any images shown here to enlarge.)
1. Create a repository branch
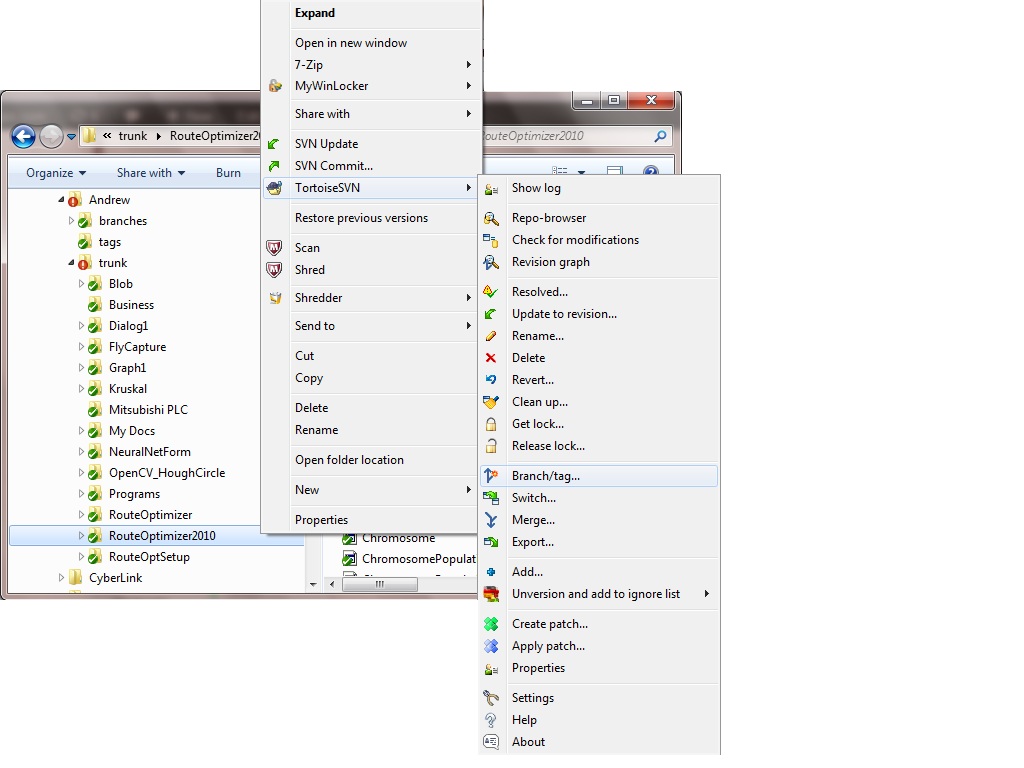
In Windows Explorer, select the trunk project folder (RouteOptimizer2010 in this example) from which you would like to branch, right-click and select ‘TortoiseSVN’ > ‘Branch/tag…’.
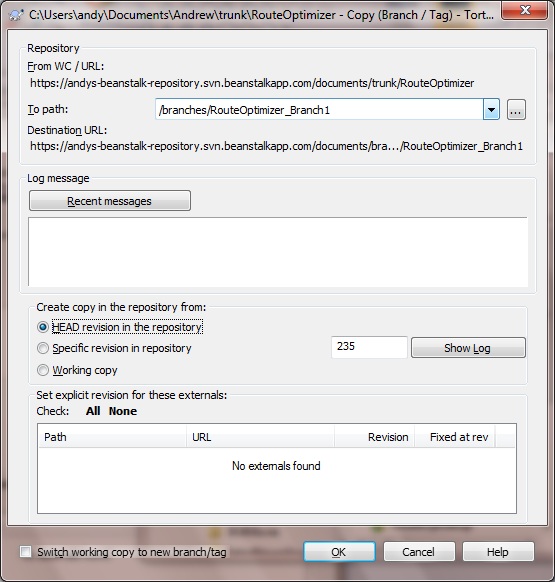
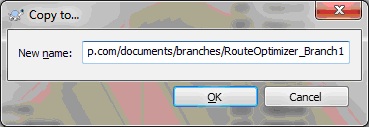
In the destination path of the Branch/Tag dialog that appears, enter the repository path of the branch that you wish to create, in my example it is branches/RouteOptimizer_Branch1.
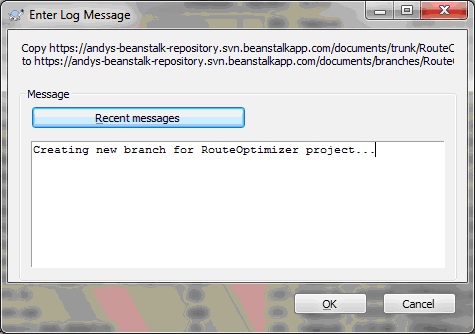
Select the HEAD revision if it is the most recent trunk version you want to branch from, otherwise choose a specific revision number. You can also also add a Log message if desired. Then click OK:
You may then get this kind of message:
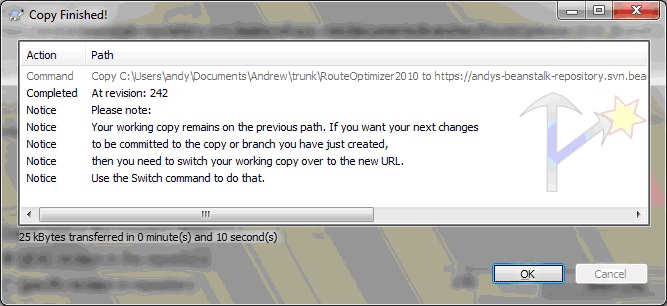
Which means that your Repo-browser still points to the same trunk path location in the repository. Don’t worry about that for now.
Once this repository branch has been created, you can then create and checkout this branch into your local work directory, so that you can make your changes on the branched version, rather than on the trunk version.
In many work situations, the main trunk branch is often left strictly alone, while any changes are made to branched versions, which are merged and incorporated into the trunk branch at a later date.
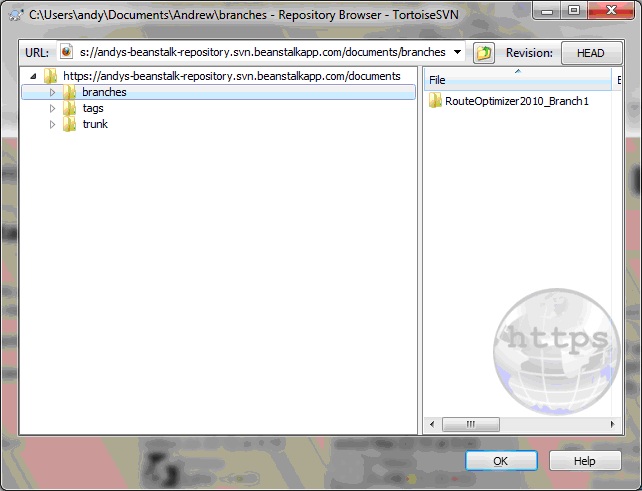
Open Repo-browser (doesn’t matter where), select the trunk directory and select project from where you are creating a branch:
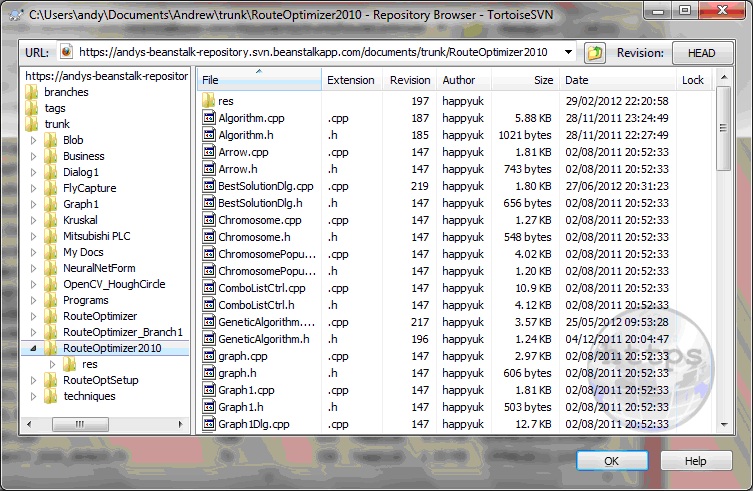
Right-click on the project you are branching and select ‘Copy To’, giving the path URL of the branch ( …/branches/RouteOptimizer2010 in this example):
And fill in the message edit box, if required:
2. Check out your branched project
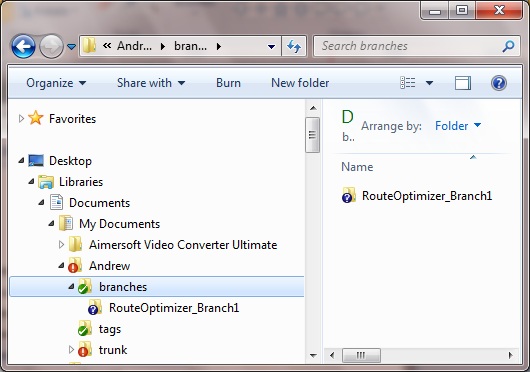
In Windows Explorer, create a directory for your branched version in an appropriate location:
Right click on your branch project folder and select ‘SVN Checkout’.
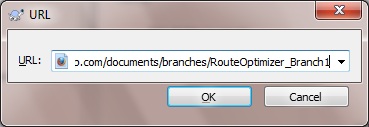
Select the ‘URL of repository’ to be the new branch location and select the checkout directory to be the new branched project folder you created, as shown in the following screenshot. I usually make the checkout depth to be fully recursive:
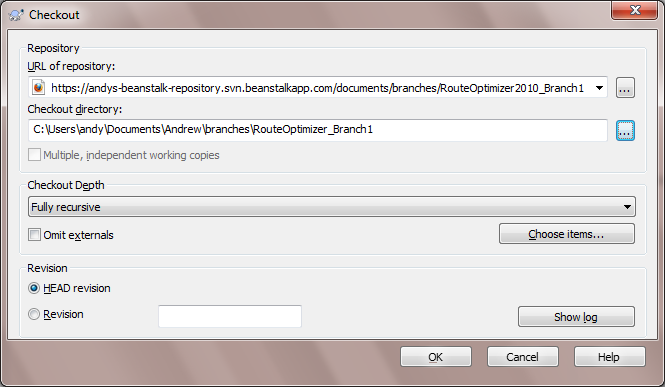
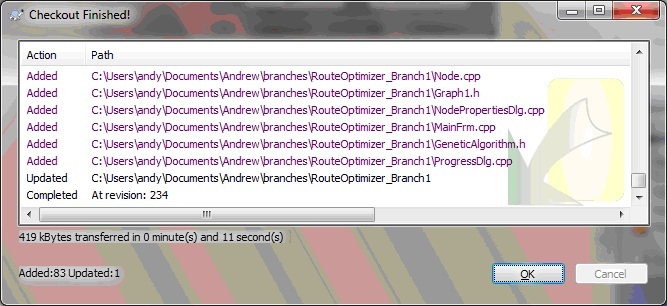
After filling in the URL, folder location etc, click OK. This will checkout all of your branched project files into your selected branch folder:
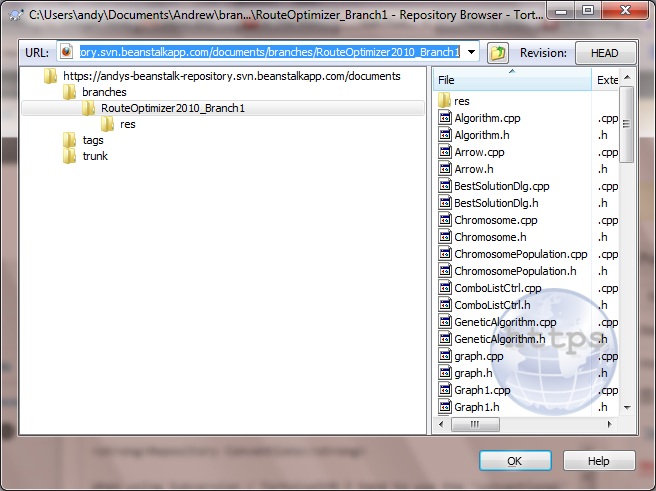
This will be the folder from where you make any changes, checking them into the selected branch of the repository for the time being, not the trunk. One final thing to make sure is that the Repo-browser now points to your intended branch, not the trunk. To do this, right-click on your project folder and select Repo-browser, and use this to confirm or make sure you are now pointing to the branch:
Granite countertops review buyer countertop granite countertop durability.