Step 1: Edit ReSharper Options
In Visual Studio select ReSharper > Options
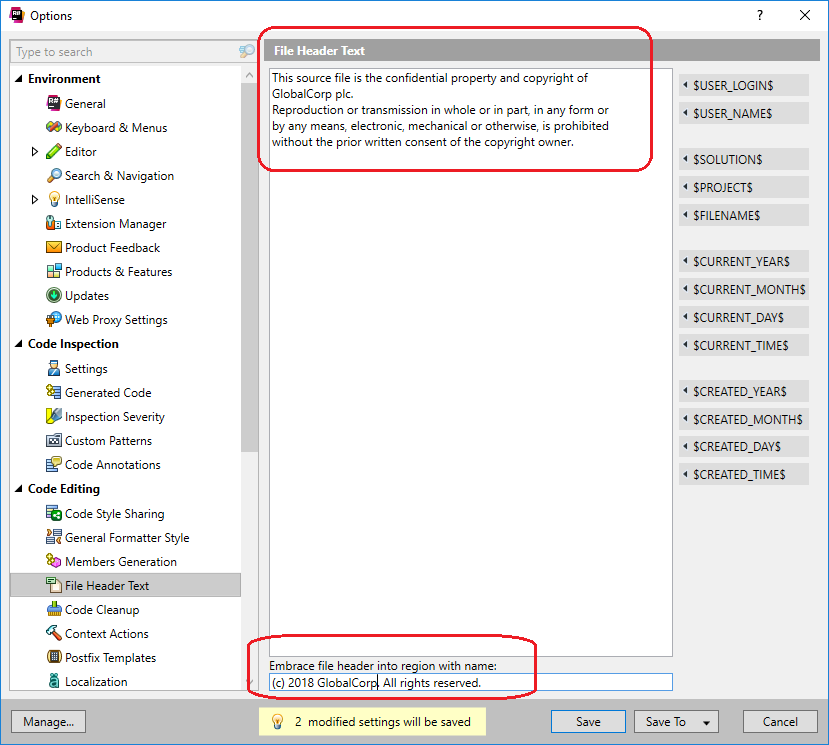
Select the Code Editing > File Header Text option.
Fill in the File Header text as shown:
Step 2: Update the settings
Select Ctrl + E, Ctrl + C
For my particular setup I needed to create a Duplicate of the built-in Full Cleanup:
So press the Duplicate button
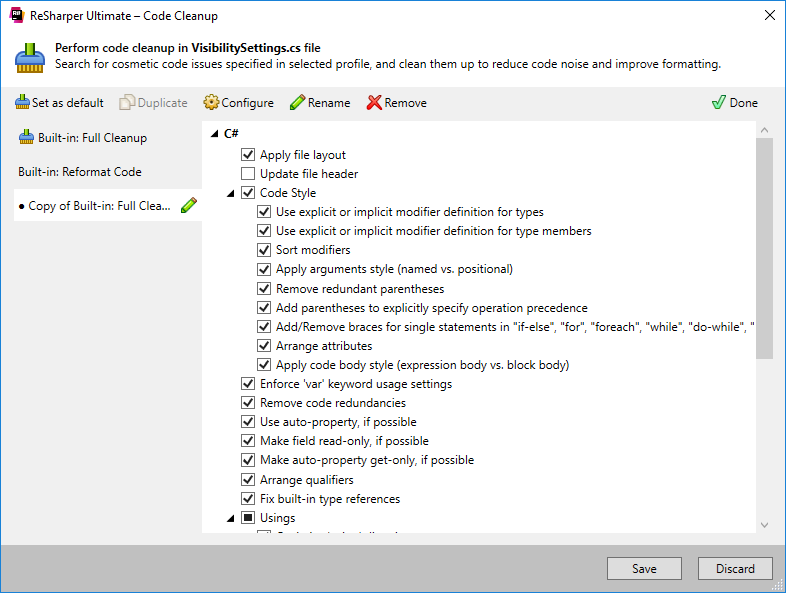
And then click the Configure Button.
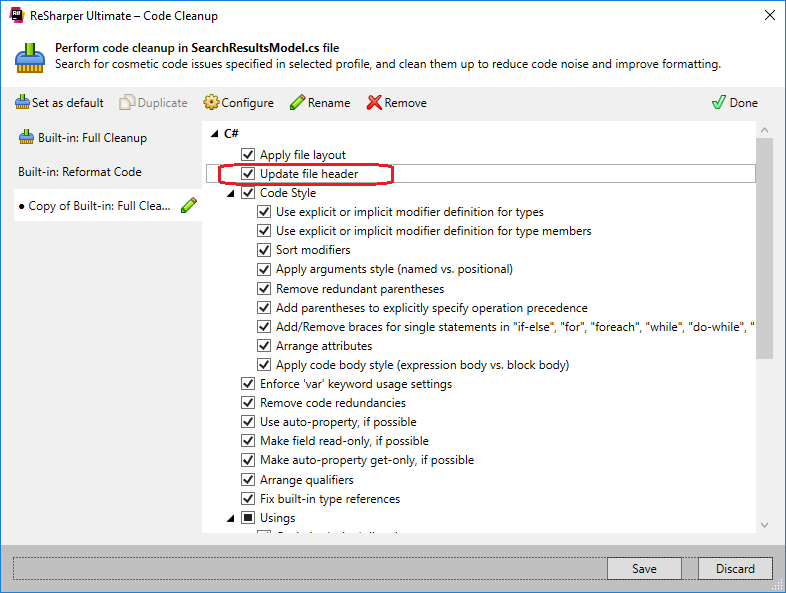
Make sure the ‘Update file header’ is checked:
Step 3: Appy it to your code
Open the code. Example:
namespace Model.Application
{
   public class VisibilitySettings
   {
      public bool TabsVisible { get; set; }
      public bool BrowserVisible { get; set; }
      public bool MenuOptionsVisible { get; set; }
      public bool UpdateUrl { get; set; }
      public string Url { get; set; }
   }
}
Select Ctrl + E, Ctrl + C
And on applying see that the header text is inserted:
#region (c) 2017 GlobalCorp. All rights reserved.

// This source file is the confidential property and copyright of
// GlobalCorp plc.
// Reproduction or transmission in whole or in part, in any form or
// by any means, electronic, mechanical or otherwise, is prohibited
// without the prior written consent of the copyright owner.

#endregion

namespace Model.Application
{
   public class VisibilitySettings
   {
      public bool TabsVisible { get; set; }
      public bool BrowserVisible { get; set; }
      public bool MenuOptionsVisible { get; set; }
      public bool UpdateUrl { get; set; }
      public string Url { get; set; }
   }
}
To apply the changes folder-wide or application ride, simply select the item in Visual Studio and then apply Ctrl + E, Ctrl + C.