To merge changes made in your branched project back into the trunk (re-integrate).
For branching in TortoiseSVN see this previous post.
So you’ve now made some changes to your branched project that have been debugged, tested, reviewed etc and checked in. Given that you and your team are happy with the branched changes, you now wish to re-integrate them back into your trunk.
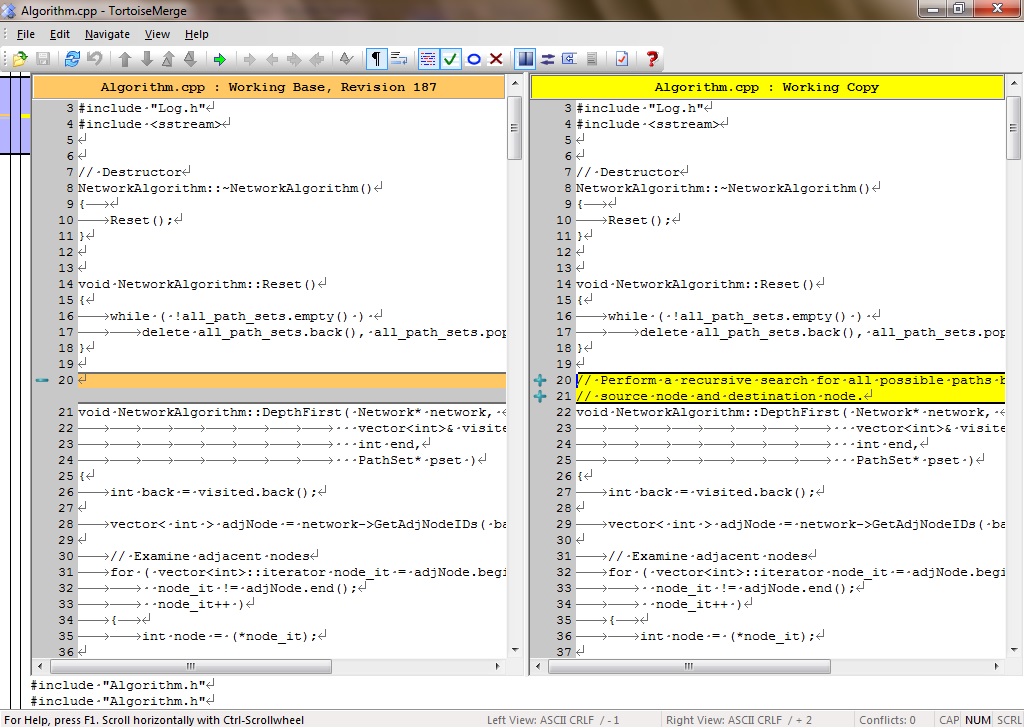
For reasons of clarity and simplicity I will demonstrate merging with just a single file change only, and which has changed by nothing more than adding a comment:
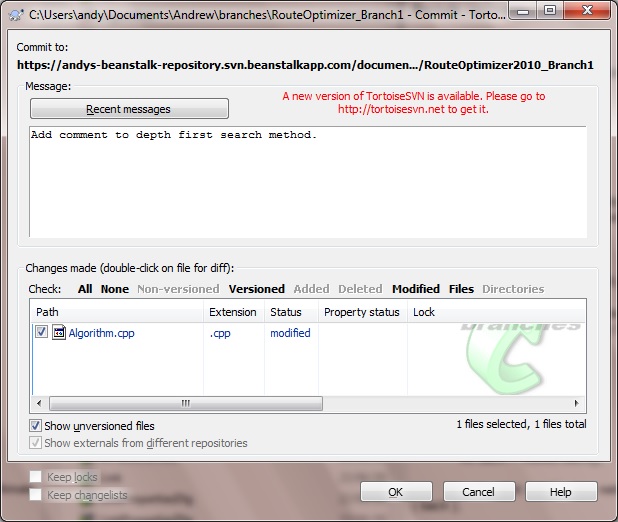
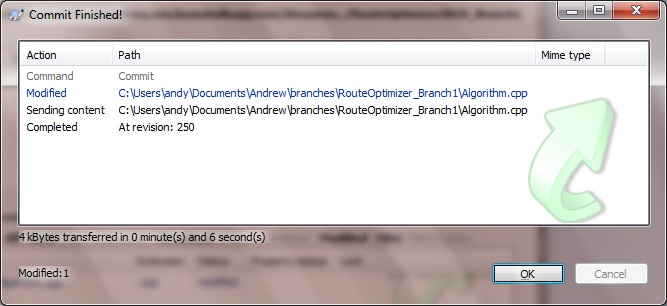
This change is checked in (commited) to the branch:
And we are now ready to merge into the trunk.
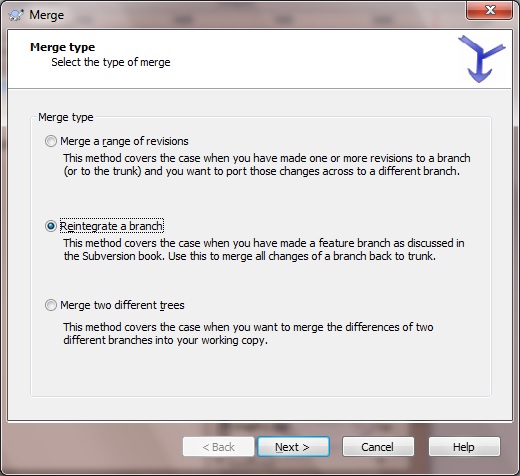
Right-click on the trunk project folder and select ‘Merge’. In the dialog that appears, select the radio button option to re-integrate a branch, and click Next:
In the next dialog that appears, we need to specify the URL of the repository we are branching from. Use the button on the side to launch the Repo-browser to specify the URL of the repository you are branching from. Then click Next.

In the next dialog that appears it is probably worth testing your merge first, making sure you are happy with it, before doing it for real.
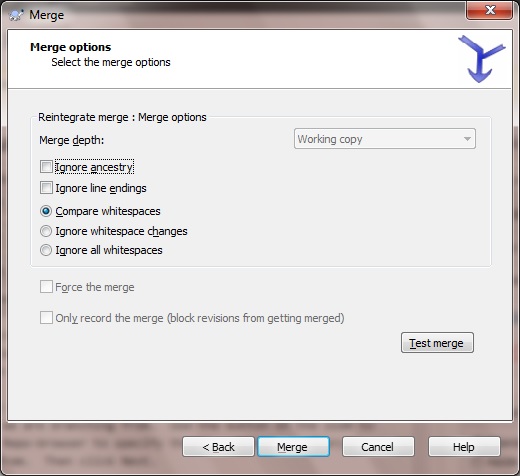
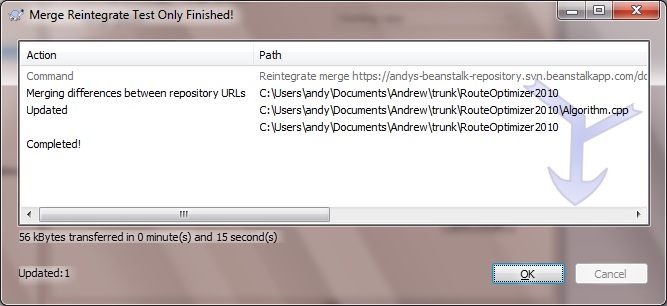
Click on the ‘Test Merge’ to see what the result of your merge will look like:
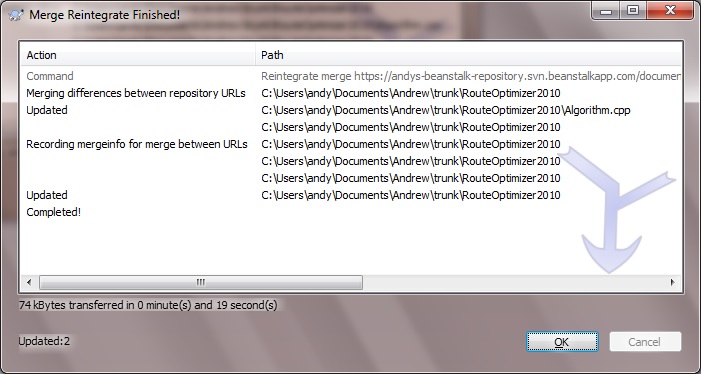
And then do your merge for real:
Go to the trunk project, and verify that the trunk’s working copy has had the changes brought about by re-integration by using the diff tool.