Step 1: Create a new Java Application
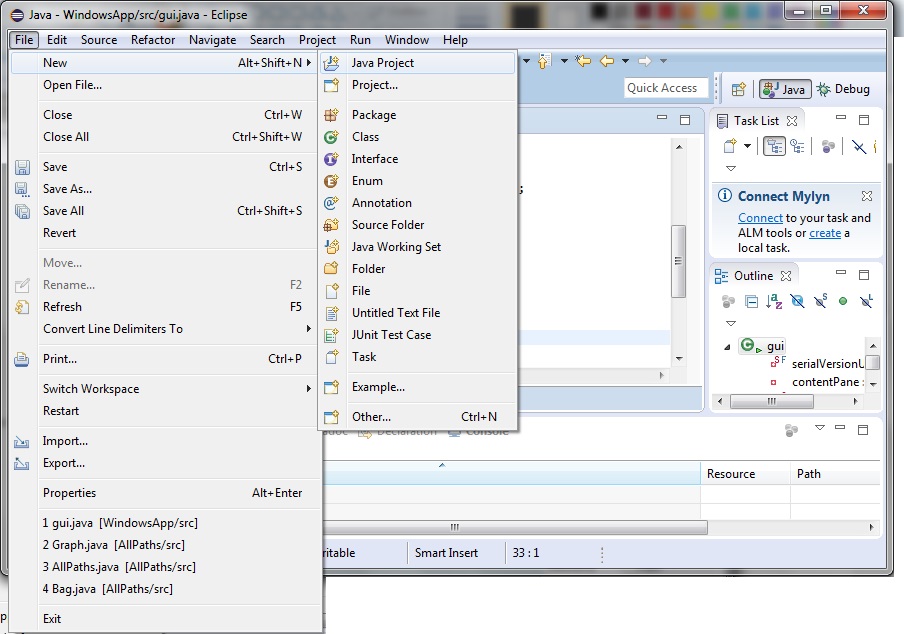
In Eclipse select File > New > Java Project:
Step 2: Create a new Frame
In Eclipse, right click the ‘src’ folder and select New > Other.
In the wizard dialog that appears select WindowBuilder > Swing Designer > JFrame:

Click Next. Give your JFrame a name:
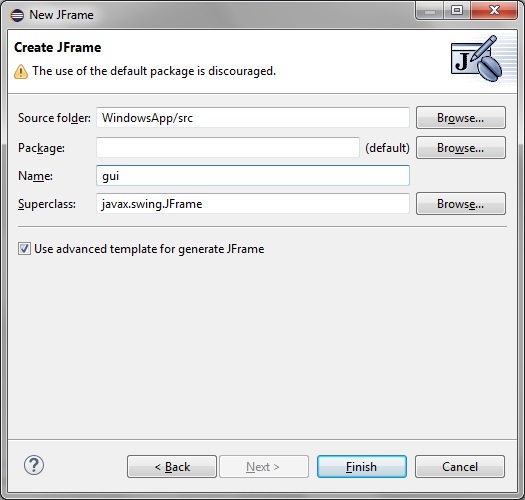
Click Finish.
Note how the following code for gui.java gets generated:
import java.awt.BorderLayout;

public class gui extends JFrame {

	private JPanel contentPane;

	/**
	 * Launch the application.
	 */
	public static void main(String[] args) {
		EventQueue.invokeLater(new Runnable() {
			public void run() {
				try {
					gui frame = new gui();
					frame.setVisible(true);
				} catch (Exception e) {
					e.printStackTrace();
				}
			}
		});
	}

	/**
	 * Create the frame.
	 */
	public gui() {
		setDefaultCloseOperation(JFrame.EXIT_ON_CLOSE);
		setBounds(100, 100, 450, 300);
		contentPane = new JPanel();
		contentPane.setBorder(new EmptyBorder(5, 5, 5, 5));
		contentPane.setLayout(new BorderLayout(0, 0));
		setContentPane(contentPane);
	}

}
Step 3: Build and fix compiler warnings
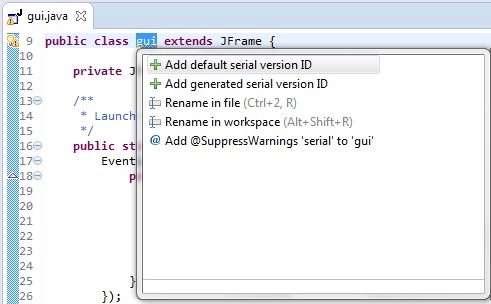
Note also when building the project we get the one warning:
“The serializable class gui does not declare a static final serialVersionUID field of type long gui.java /WindowsApp/src line 9 Java Problem”
Click your mouse pointer over by the warning symbol and allow Eclipse to correct it:
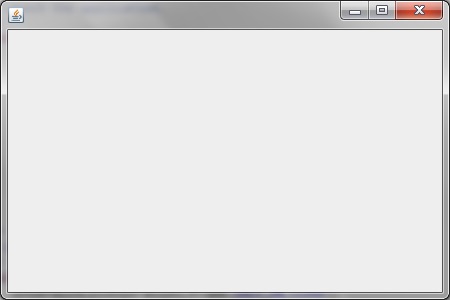
On building and running the project we have our bare minimum Windows application as shown: