UPDATE: There is an improved version of this technique, one which does not need to create Views, which can be found at the following link:
https://www.technical-recipes.com/2018/navigating-between-views-in-wpf-mvvm/
This technique has been already discussed on a number of blog / website forums including the following:
https://rachel53461.wordpress.com/2011/05/28/switching-between-viewsusercontrols-using-mvvm/
http://stackoverflow.com/questions/19654295/wpf-mvvm-navigate-views
http://stackoverflow.com/questions/10993385/changing-view-on-buttonclick
I thought it would be useful to share an implemention of a working version of this technique.
The complete Visual Studio project can be downloaded from here:
https://www.technical-recipes.com/Downloads/MvvmSwitchViews.zip
To summarise, your application should at least implement the following:
A ViewModel that contains a property which defines your current view, so that to change the view you switch your ViewModel’s properties.
The ViewModel needs to implement INotifyPropertyChanged otherwise the view won’t be notified when a property changes.
A ContentControl whose content to the is bound to the current view.
Some DataTemplates for each of the views you wish to switch between.
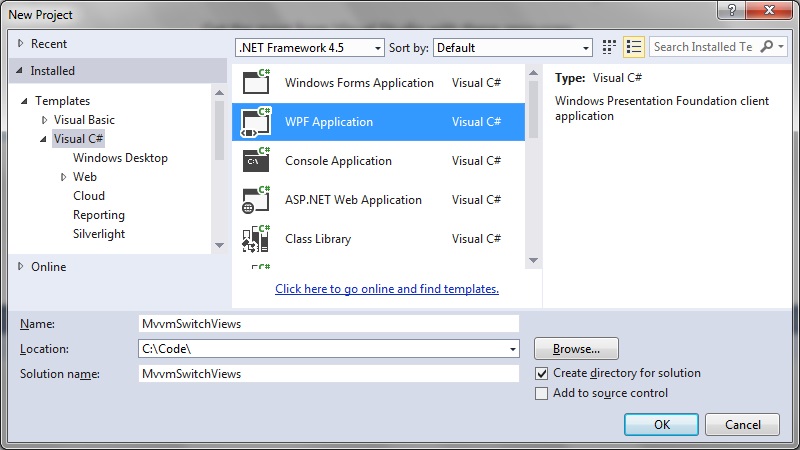
To get started create a new WPF project in Visual Studio:
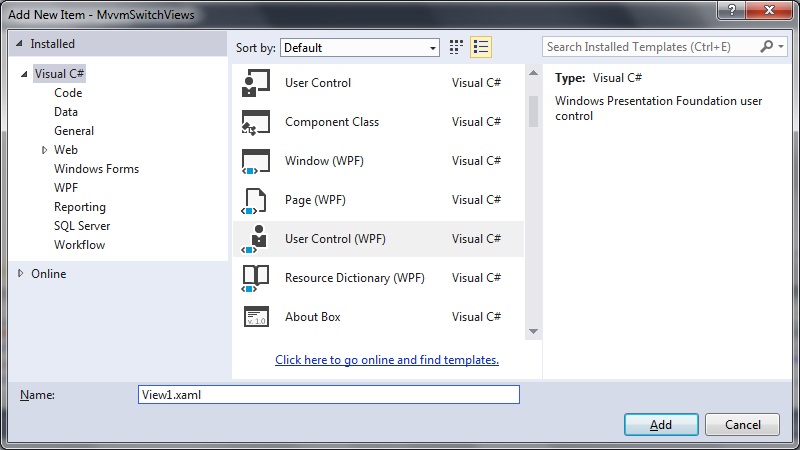
And in our project create 2 x new WPF User Controls, View1.xaml and View2.xaml:
View1.xaml
<UserControl x:Class="MvvmSwitchViews.View1"
             xmlns="http://schemas.microsoft.com/winfx/2006/xaml/presentation"
             xmlns:x="http://schemas.microsoft.com/winfx/2006/xaml"
             xmlns:mc="http://schemas.openxmlformats.org/markup-compatibility/2006"
             xmlns:d="http://schemas.microsoft.com/expression/blend/2008"
             mc:Ignorable="d"
             d:DesignHeight="300" d:DesignWidth="300">
    <Grid>
        <Button
            Content="Goto View 2"
            Command="{Binding GotoView2Command}"
		    HorizontalAlignment="Center"
		    Margin="10,10,0,0"
		    VerticalAlignment="Center"
		    Width="75">
        </Button>
    </Grid>
</UserControl>
View2.xaml
<UserControl x:Class="MvvmSwitchViews.View2"
             xmlns="http://schemas.microsoft.com/winfx/2006/xaml/presentation"
             xmlns:x="http://schemas.microsoft.com/winfx/2006/xaml"
             xmlns:mc="http://schemas.openxmlformats.org/markup-compatibility/2006"
             xmlns:d="http://schemas.microsoft.com/expression/blend/2008"
             mc:Ignorable="d"
             d:DesignHeight="300" d:DesignWidth="300">
    <Grid>
        <Button
            Content="Goto View 1"
            Command="{Binding GotoView1Command}"
		    HorizontalAlignment="Center"
		    Margin="10,10,0,0"
		    VerticalAlignment="Center"
		    Width="75">
        </Button>
    </Grid>
</UserControl>
Create ViewModels for each of the Views: View1ViewModel and View2ViewModel. These will just be empty classes for our minimalist implementation:
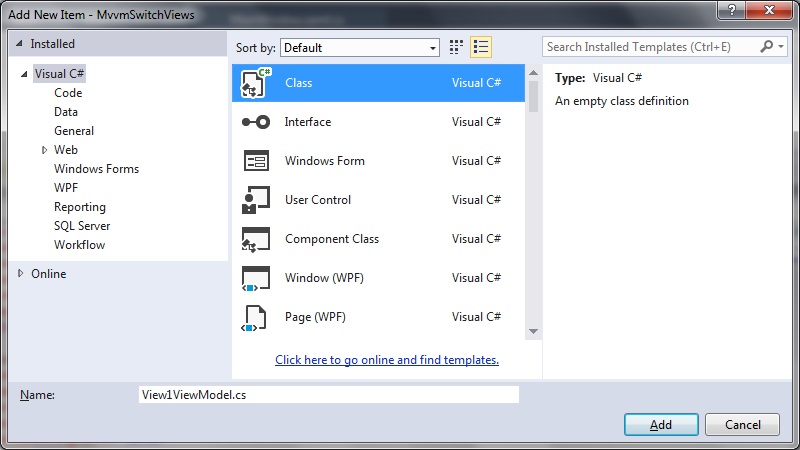
View1ViewModel.cs
namespace MvvmSwitchViews
{
   public class View1ViewModel
   {
   }
}
View2ViewModel.cs
namespace MvvmSwitchViews
{
   public class View2ViewModel
   {
   }
}
Modify the MainWindow.xaml to include the DataTemplate and CurrentView bindings:
MainWindow.xaml
<Window x:Class="MvvmSwitchViews.MainWindow"
        xmlns="http://schemas.microsoft.com/winfx/2006/xaml/presentation"
        xmlns:x="http://schemas.microsoft.com/winfx/2006/xaml"
        xmlns:local="clr-namespace:MvvmSwitchViews"
        Title="MainWindow" Height="350" Width="525">
    <Window.Resources>
        <DataTemplate DataType="{x:Type local:View1ViewModel}">
            <local:View1/>
        </DataTemplate>
        <DataTemplate DataType="{x:Type local:View2ViewModel}">
            <local:View2/>
        </DataTemplate>
    </Window.Resources>

    <Window.DataContext>
        <local:MainWindowViewModel />
    </Window.DataContext>

    <Grid>
        <ContentControl Content="{Binding CurrentView}" />
    </Grid>
</Window>
We then create a new ViewModel for the MainWindow.xaml, called MainWindowViewModel:
MainWindowViewModel.cs
using System.Windows.Input;

namespace MvvmSwitchViews
{
   public class MainWindowViewModel : ViewModelBase
   {
      private ICommand _gotoView1Command;
      private ICommand _gotoView2Command;
      private object _currentView;
      private object _view1;
      private object _view2;

      public MainWindowViewModel()
      {
         _view1 = new View1();
         _view2 = new View2();

         CurrentView = _view2;
      }

      public object GotoView1Command
      {
         get
         {
            return _gotoView1Command ?? (_gotoView1Command = new RelayCommand(
               x =>
               {
                  GotoView1();
               }));
         }
      }

      public ICommand GotoView2Command
      {
         get
         {
            return _gotoView2Command ?? (_gotoView2Command = new RelayCommand(
               x =>
               {
                  GotoView2();
               }));
         }
      }

      public object CurrentView
      {
         get { return _currentView; }
         set
         {
            _currentView = value;
            OnPropertyChanged("CurrentView");
         }
      }

      private void GotoView1()
      {
         CurrentView = _view1;
      }

      private void GotoView2()
      {
         CurrentView =  _view2;
      }
   }
}
We also need to implement INotifyPropertyChanged or create a class that implements INotifyPropertyChanged. For this we create a new class called ViewModelBase:
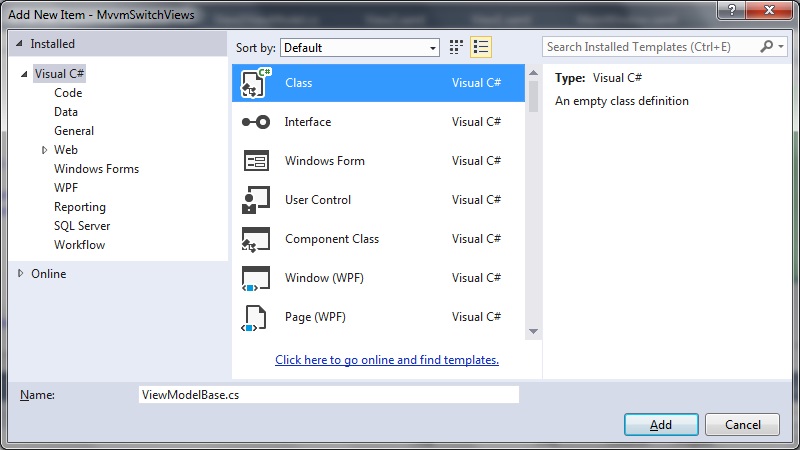
ViewModelBase.cs
using System;
using System.ComponentModel;
using System.Windows.Input;

namespace MvvmSwitchViews
{
   public class ViewModelBase : INotifyPropertyChanged
   {
      public event PropertyChangedEventHandler PropertyChanged;
      protected void OnPropertyChanged(string propertyName)
      {

         var handler = PropertyChanged;
         if (handler != null)
         {
            handler(this, new PropertyChangedEventArgs(propertyName));
         }
      }
   }
}
Create three more classes to implement RelayCommand, EventArgs and EventRaiser for our event handling:
RelayCommand.cs
using System;
using System.Windows.Input;

namespace MvvmSwitchViews
{
   public class RelayCommand<T> : ICommand
   {
      private readonly Predicate<T> _canExecute;
      private readonly Action<T> _execute;

      public RelayCommand(Action<T> execute)
         : this(execute, null)
      {
         _execute = execute;
      }

      public RelayCommand(Action<T> execute, Predicate<T> canExecute)
      {
         if (execute == null)
         {
            throw new ArgumentNullException("execute");
         }
         _execute = execute;
         _canExecute = canExecute;
      }

      public bool CanExecute(object parameter)
      {
         return _canExecute == null || _canExecute((T) parameter);
      }

      public void Execute(object parameter)
      {
         _execute((T) parameter);
      }

      public event EventHandler CanExecuteChanged
      {
         add { CommandManager.RequerySuggested += value; }
         remove { CommandManager.RequerySuggested -= value; }
      }
   }

   public class RelayCommand : ICommand
   {
      private readonly Predicate<object> _canExecute;
      private readonly Action<object> _execute;

      public RelayCommand(Action<object> execute)
         : this(execute, null)
      {
         _execute = execute;
      }

      public RelayCommand(Action<object> execute, Predicate<object> canExecute)
      {
         if (execute == null)
         {
            throw new ArgumentNullException("execute");
         }
         _execute = execute;
         _canExecute = canExecute;
      }

      public bool CanExecute(object parameter)
      {
         return _canExecute == null || _canExecute(parameter);
      }

      public void Execute(object parameter)
      {
         _execute(parameter);
      }

      // Ensures WPF commanding infrastructure asks all RelayCommand objects whether their
      // associated views should be enabled whenever a command is invoked
      public event EventHandler CanExecuteChanged
      {
         add
         {
            CommandManager.RequerySuggested += value;
            CanExecuteChangedInternal += value;
         }
         remove
         {
            CommandManager.RequerySuggested -= value;
            CanExecuteChangedInternal -= value;
         }
      }

      private event EventHandler CanExecuteChangedInternal;

      public void RaiseCanExecuteChanged()
      {
         CanExecuteChangedInternal.Raise(this);
      }
   }
}
EventArgs.cs
using System;

namespace MvvmSwitchViews
{
   public class EventArgs<T> : EventArgs
   {
      public EventArgs(T value)
      {
         Value = value;
      }

      public T Value { get; private set; }
   }
}
EventRaiser.cs
using System;

namespace MvvmSwitchViews
{
   public static class EventRaiser
   {
      public static void Raise(this EventHandler handler, object sender)
      {
         if (handler != null)
         {
            handler(sender, EventArgs.Empty);
         }
      }

      public static void Raise<T>(this EventHandler<EventArgs<T>> handler, object sender, T value)
      {
         if (handler != null)
         {
            handler(sender, new EventArgs<T>(value));
         }
      }

      public static void Raise<T>(this EventHandler<T> handler, object sender, T value) where T : EventArgs
      {
         if (handler != null)
         {
            handler(sender, value);
         }
      }

      public static void Raise<T>(this EventHandler<EventArgs<T>> handler, object sender, EventArgs<T> value)
      {
         if (handler != null)
         {
            handler(sender, value);
         }
      }
   }
}
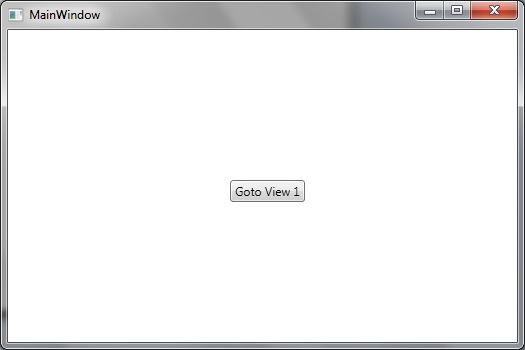
We can now run the application to demonstrate how the switch of views can be achieved by the pressing of the buttons:
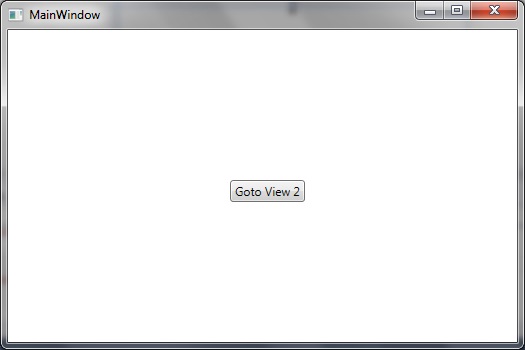
And switching to the next view like so: