Threads can be used to implement parallelism. For UNIX-based systems, a standardized C language threads programming interface has been specified by the IEEE POSIX 1003.1c standard. Implementations that adhere to this standard are referred to as POSIX threads, or Pthreads.
Windows does not support pthreads directly, instead the Pthreads-w32 project seeks to provide a portable and open-source wrapper implementation.
The first step is to obtain the pthread project from the following ftp site:
ftp://sourceware.org/pub/pthreads-win32/
And extract it to a location of your choice:
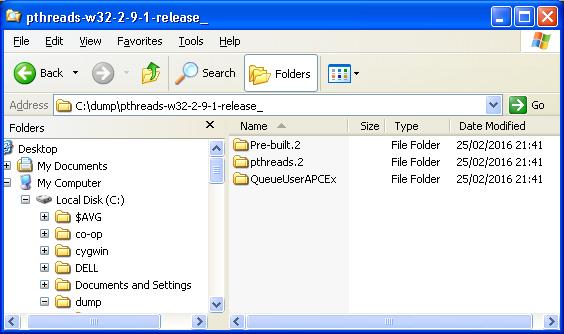
This will be the location of where your project dependencies and additional library files will be located.
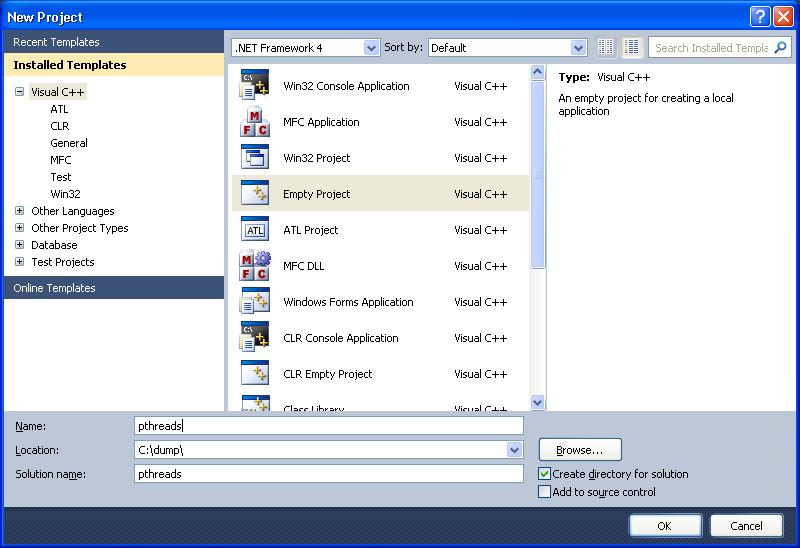
To demonstrate an example pthreads usage in a Microsoft Visual Studio environment, first create a new Empty Project:
Add the main.cpp source file to your empty project and use the following code sample:
#include <pthread.h>
#include <stdio.h>
#include <stdlib.h>
#include <assert.h>

#define NUM_THREADS     5

void *perform_work(void *argument)
{
   int passed_in_value;

   passed_in_value = *((int *) argument);
   printf("Hello World! It's me, thread with argument %d!\n", passed_in_value);

   /* optionally: insert more useful stuff here */

   return NULL;
}

int main(void)
{
   pthread_t threads[NUM_THREADS];
   int thread_args[NUM_THREADS];
   int result_code, index;

   // create all threads one by one
   for (index = 0; index < NUM_THREADS; ++index) {
      thread_args[index] = index;
      printf("In main: creating thread %d\n", index);
      result_code = pthread_create(&threads[index], NULL, perform_work, (void *) &thread_args[index]);
      assert(0 == result_code);
   }

   // wait for each thread to complete
   for (index = 0; index < NUM_THREADS; ++index) {
      // block until thread 'index' completes
      result_code = pthread_join(threads[index], NULL);
      printf("In main: thread %d has completed\n", index);
      assert(0 == result_code);
   }

   printf("In main: All threads completed successfully\n");
   exit(EXIT_SUCCESS);
}
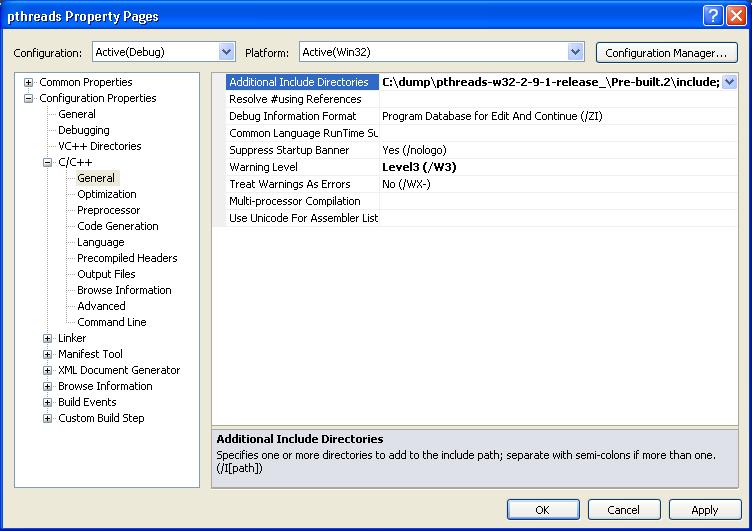
Now set your project dependencies, telling it where to look for the include files.
Right click your project folder and select Properties. In C/C++ > General > Additional Include Directories, set the folder location to where the pthread includes are located:
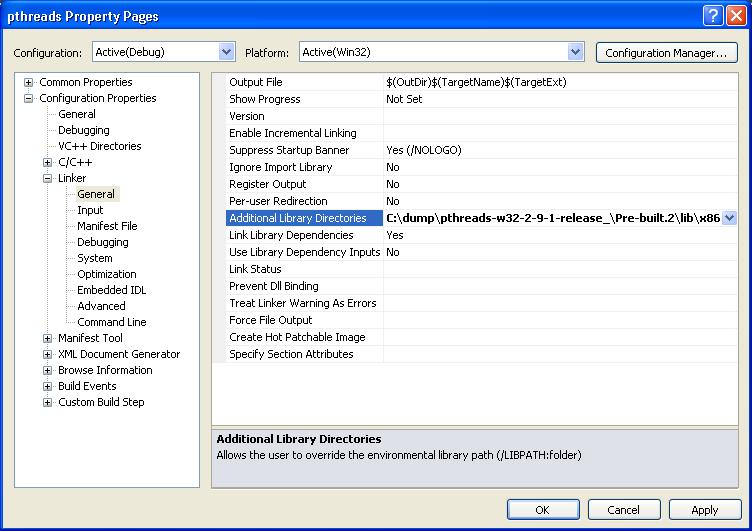
Then we need to set the libraries. In your project properties, select Linker > General and set the location of the pthread library files. Be sure to distinguish between the 32/64 bit versions, depending on your own particular PC:
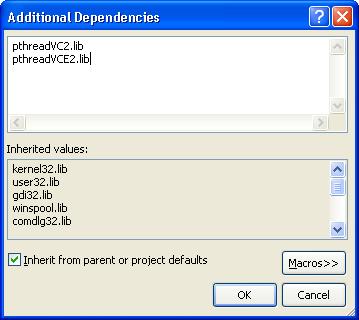
Finally we need to set the additional library file dependencies. In the project properties, select Linker > Input > Additional Dependencies. Add the files pthreadVC2.lib and pthreadVCE2.lib:
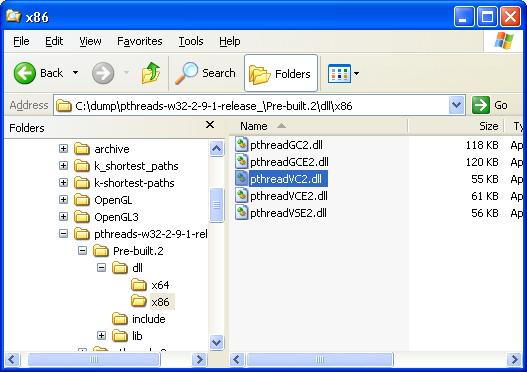
The last step is to include the dll file in your project. Find out where the pthreadVC2.dll is located:
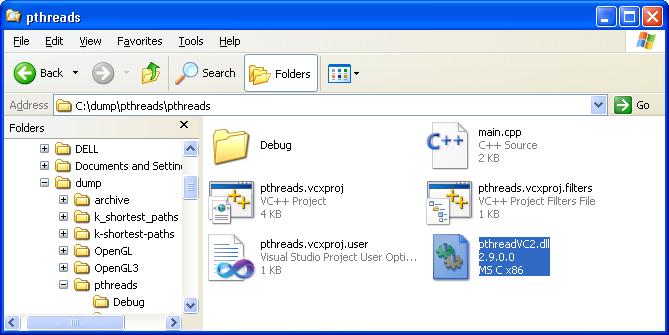
Copy this file from here and paste it to where your C++ project is located:
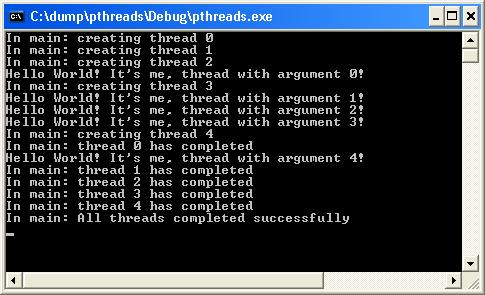
And that’s all there is to it. Rebuild the example project and run: