Some practical instructions on how to include resource files to your Visual Studio C# WPF project that are not source code.
Such non-code files can include binary data, text files, media files, string values, icons, XML, or any other type of data.
Project resource data is stored in XML format in the .resx file (named Resources.resx by default).
In this example we demonstrate how resource files can be defined in and accessed from a separate class library, thereby helping to make your project cleaner and less cluttered.
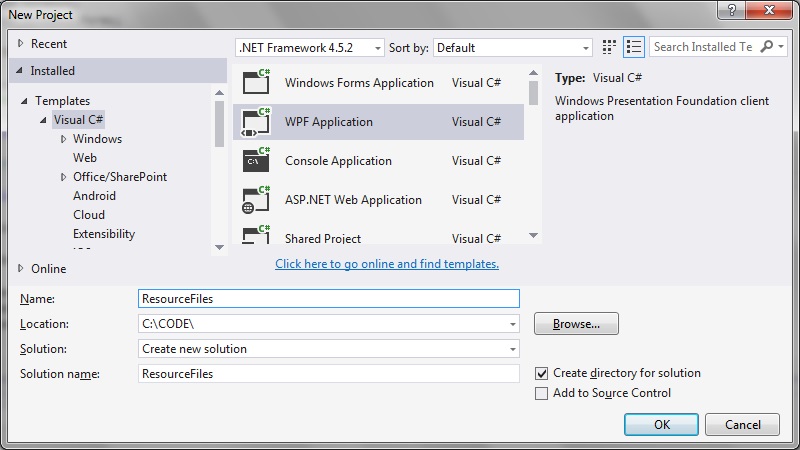
Step 1: Create a new Visual Studio WPF project.
Create a new WPF application for this example:
Step 2: Add a new class library project
Right-click on your solution folder and select Add > New Project. Create a new Class Library application. We’ll call it FileStore:
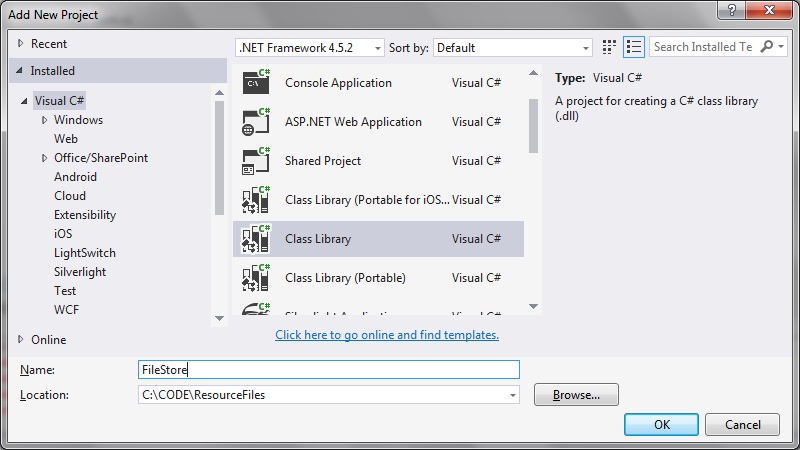
This project we will use to contain our resource files.
Step 3: Create a folder to store the resource files
In the ‘FileStore’ Class Library project you created, right-click the project folder and select Add > New Folder. Let’s call it ‘Resources’:
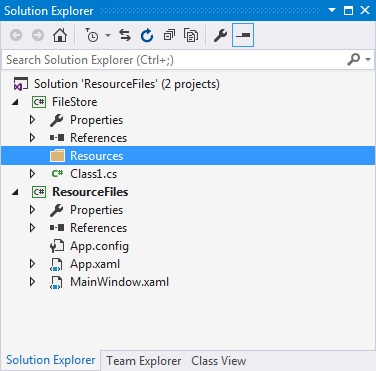
Resource files folder
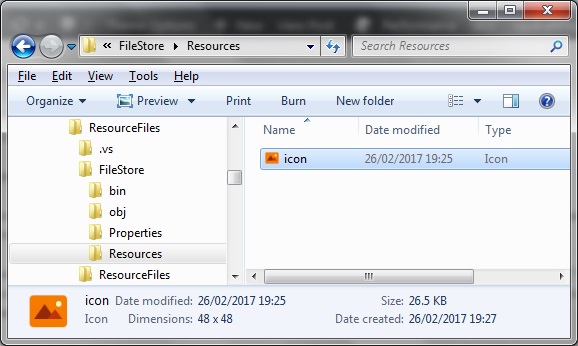
And then add the resource file(s) you would like the executable to be able to access. In this example, I am interested in using an icon resource file. The example icon resource file you can obtain from here:
https://www.technical-recipes.com/Downloads/icon.ico
Copy this file to a Resources folder that would have been created in Step 3.
And in Visual Studio, right-click the Resources folder and select Add > Existing Item. Add the ‘icon.ico’ resource contained in the Resources folder:
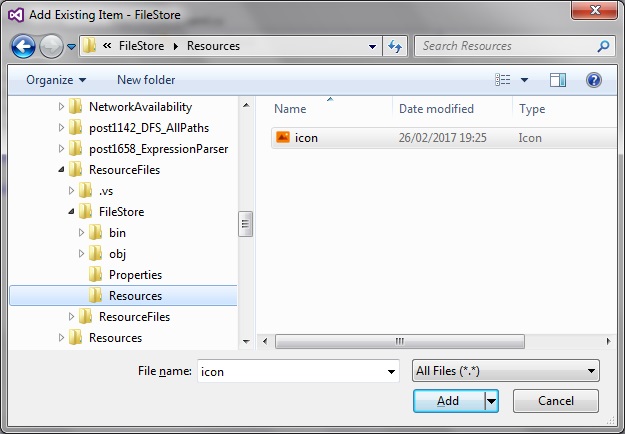
(In this Class Library project you can also delete the ‘Class1.cs’ file that gets automatically generated).
Step 4: Create a new resx file
In the ‘FileStore’ Class Library project, right-click the project folder and select Add > New Item.
Select a new Resource file. I prefer to rename this to ‘Resource.resx’:

Step 5: Add the file resource to the resx file.
Double click (select) Resource.resx.
Select Add Resource > Add Existing File.
Select the ‘icon.ico’ that you placed in the Resources folder.
Make sure that the Access Modify is set to ‘Public’ nor ‘Internal’
Resource.resx now looks like this:
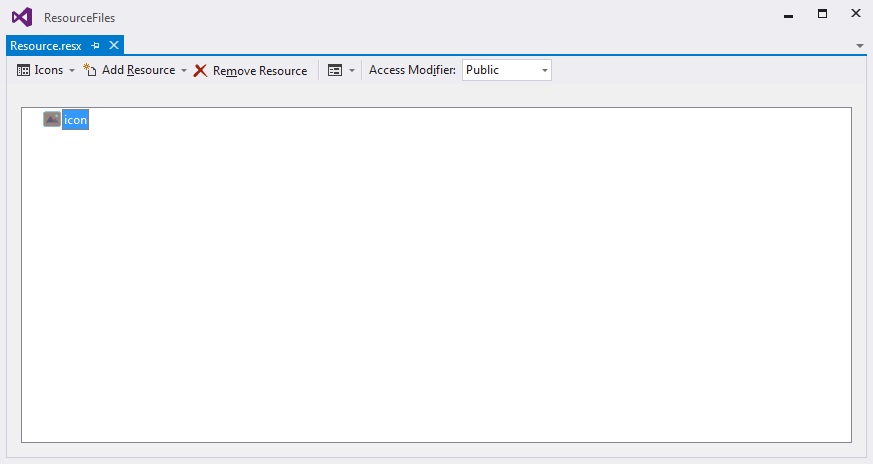
Icon resource file
Step 6: Add the ‘FileStore’ dll reference to the main startup project
Right-click on the ‘FileStore’ Class Library project and select rebuild.
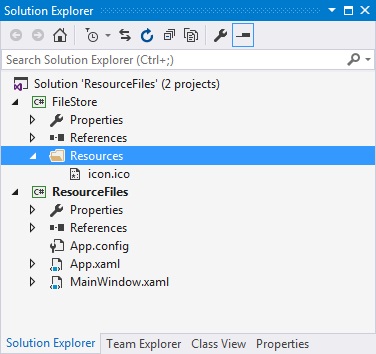
Right-click the ‘ResourceFiles’ main startup project and select Add > Reference. In the reference Manager dialog that appears, select the ‘Project’ section and select the ‘FileStore’ project:

Step 7: Add other necessary references to the main startup project
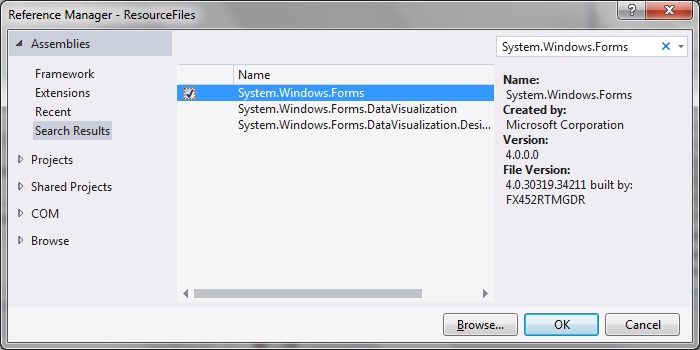
Firstly in order to use the ‘NotifyIcon’ class we need to import the ‘System.Windows.Forms’ using directive.
In the ResourceFiles project, right-click on References and select Add Reference. Search for and select ‘System.Windows.Forms’:
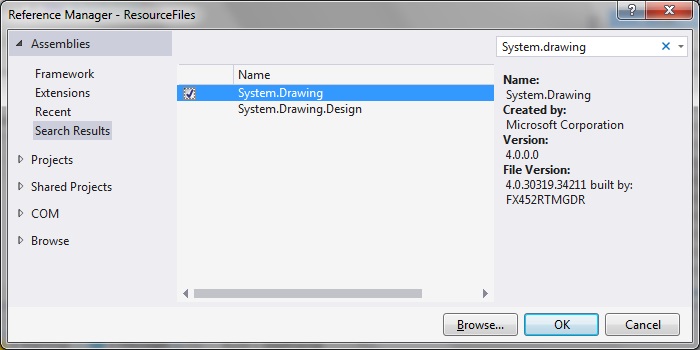
In the same project, we also need to add a reference to System.Drawing:
Step 8: Access the resource in your code
In the MainWindow.xaml.cs code, update so that we can access the icon resource created in the ‘FileStore’ project.
This small code modification will enable the icon resource file to be displayed in the notification area of your Windows screen. Access to the icon file resource is made via the line:
FileStore.Resource.icon;
Full code listing:
using System.Windows;
using System.Windows.Forms;

namespace ResourceFiles
{
   public partial class MainWindow : Window
   {
      NotifyIcon notifyIcon = new NotifyIcon();

      public MainWindow()
      {
         InitializeComponent();

         notifyIcon.Icon = FileStore.Resource.icon;
         notifyIcon.Visible = true;
         notifyIcon.Text = "Check for updates";
      }
   }
}
Rebuild the whole solution and run.
Notice that the icon resource is displayed in the notification area of the Windows toolbar as shown: