Some instructions that distill how one may get started with using TypeScript in Visual Studio Code.
Step 1: Set up your development environment
Download and run the installer for Visual Studio Code from the following link:
https://code.visualstudio.com/download
Step 2: Install node.js
Download and run the installer for node.js from the following link:
Step 3: Install TypeScript
Once node.js has been installed you can install TypeScript.
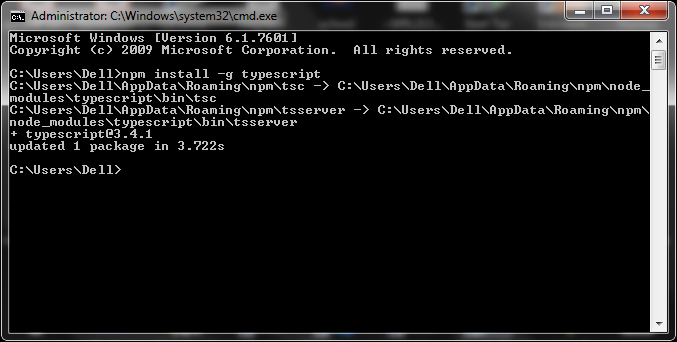
Close VS Code if opened and open a command prompt and run the command:
npm install -g typescript
(Use the -g to ensure typescript is installed globally, not just for the folder you are in.)
Step 4: Set up an example project
Open VS Code.
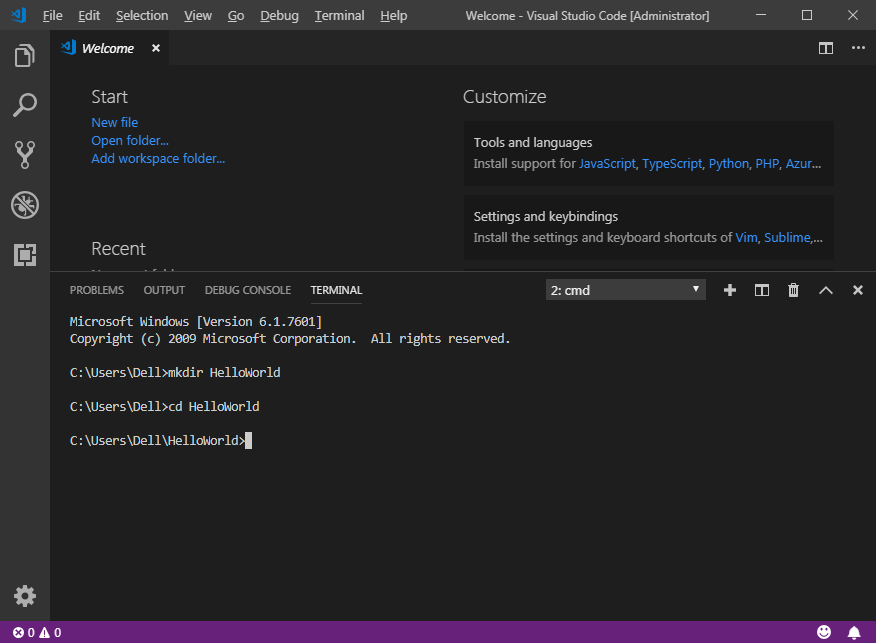
Create a new Terminal by selecting Terminal > New Terminal.
Create a directory for your project using the mkdir command and navigate to that folder:
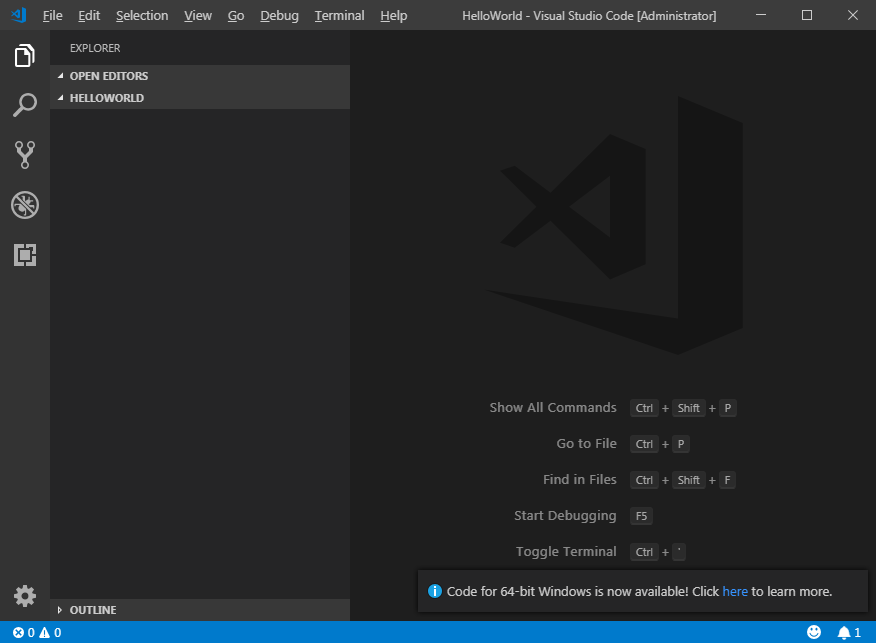
Close the terminal and open the folder you just created by selecting File > Open Folder:
Step 5: Create a new typescript.json file
Run the command:
tsc --init
Alternatively you can create your own tsconfig.json file:
{
    "compilerOptions": {
        "target": "es5",
        "module": "commonjs",
        "sourceMap": true
    }
}
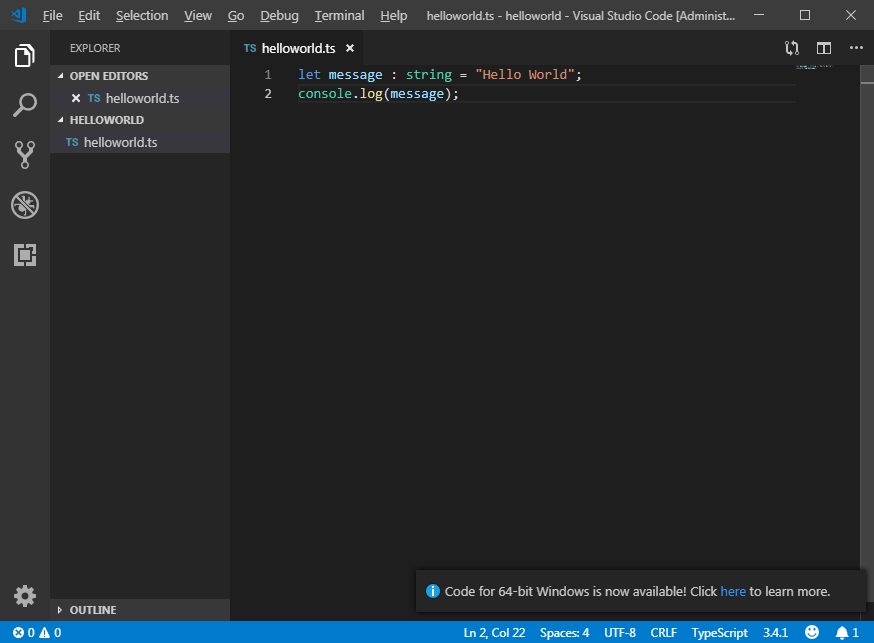
Step 6: Create and transpile example helloworld.ts code:
let message : string = "Hello World";
console.log(message);
Compile it using the terminal command:
tsc helloworld.tsc
This will generate the file helloworld.js:
var message = "Hello World";
console.log(message);
Step 7: Make TypeScript automatically look for and transpile your changes
Select Ctrl + Shift + B
Select tsc:build:
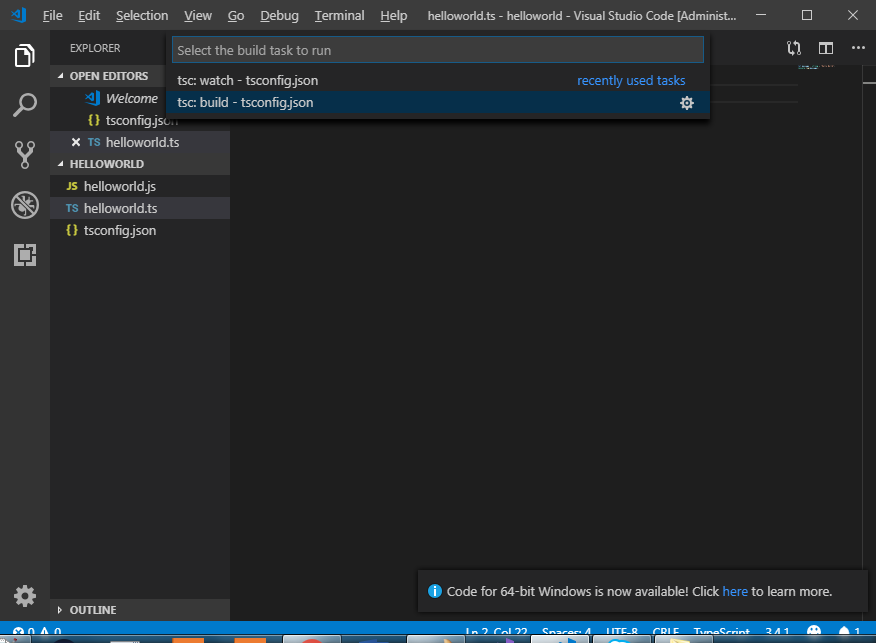
This will automatically trigger the transpilation of ts to js files each time the ts file is changed.