This post is a how-to guide on how to get up and running with using the tesseract optical character recognition (OCR) library in a Microsoft Visual Studio environment.
The original link can be found at the following github location:
https://tesseract-ocr.github.io/tessdoc/Compiling.html#windows
Step 1: Build the latest library (using Software Network client)
Download and extract the latest SW (Software Network https://software-network.org/) client from the following location:
https://software-network.org/client/sw-master-windows-client.zip
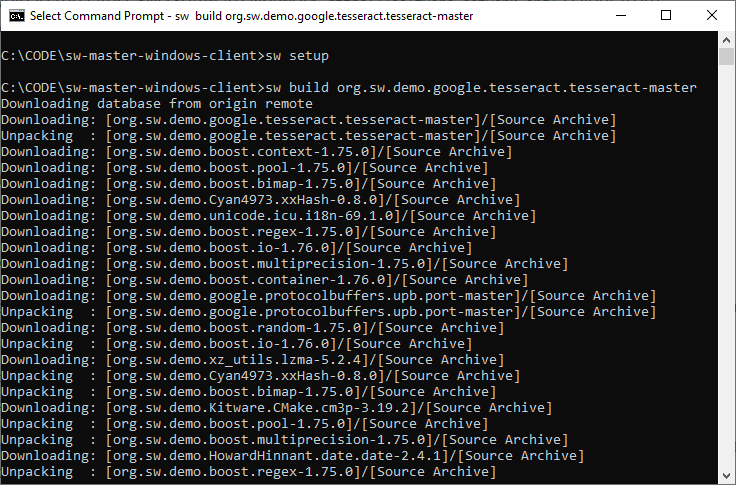
Open a DOS command prompt and run the following commands:
sw setup
sw build org.sw.demo.google.tesseract.tesseract-master
As shown in the following screenshot:
Step 2: Install git if you have not already done so
You will need git to download the libraries needed for this project.
Download link for obtaining the git for Windows executables etc here:
https://git-scm.com/download/win
Simply run the executable. In this example I am using the 64-bit version.
Step 3. For visual studio project using tesseract set up Vcpkg, the Visual C++ Package Manager.
First set up the Vcpkg package, a Visual C++ Package Manager.
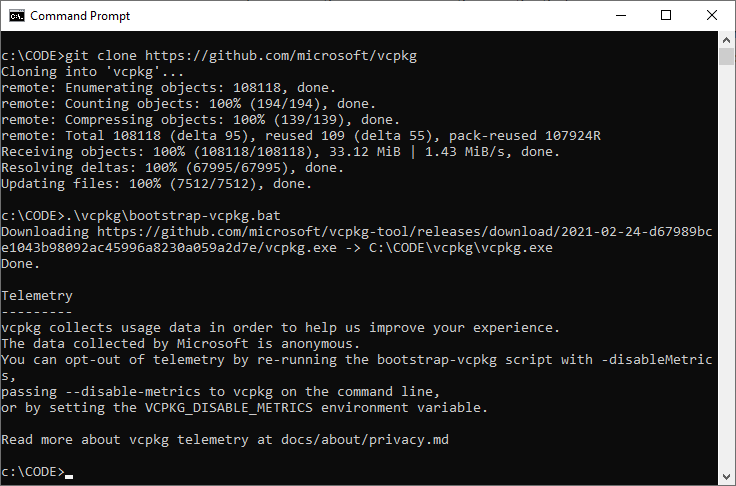
Use a git clone command in your DOS prompt to obtain the package to your location of choice and run the vcpkg bootstrap script:
git clone https://github.com/microsoft/vcpkg
.\vcpkg\bootstrap-vcpkg.bat
Install the vcpkg package to your folder location of choice.

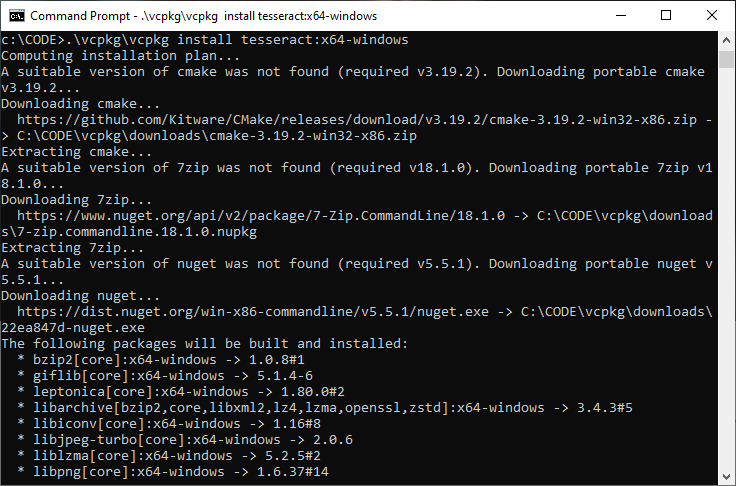
Then install the tesseract libraries that will be needed for your project:
.\vcpkg\vcpkg install tesseract:x64-windows
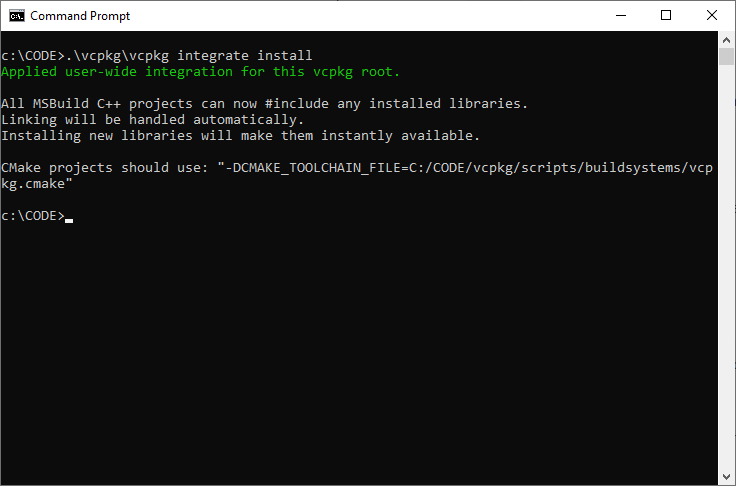
Step 4: Integrate vcpkg with Visual Studio
To successfully use vcpkg with Visual Studio, run the following command (may require administrator elevation):
.\vcpkg\vcpkg integrate install
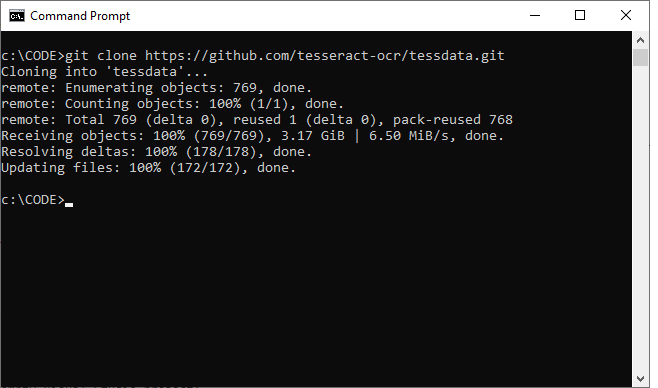
Step 5: Obtain the tesseract language data
The download link here for tessdata is available here:
https://github.com/tesseract-ocr/tessdata
I used a ‘git clone’ command to download the “eng” files to a chosen folder location:
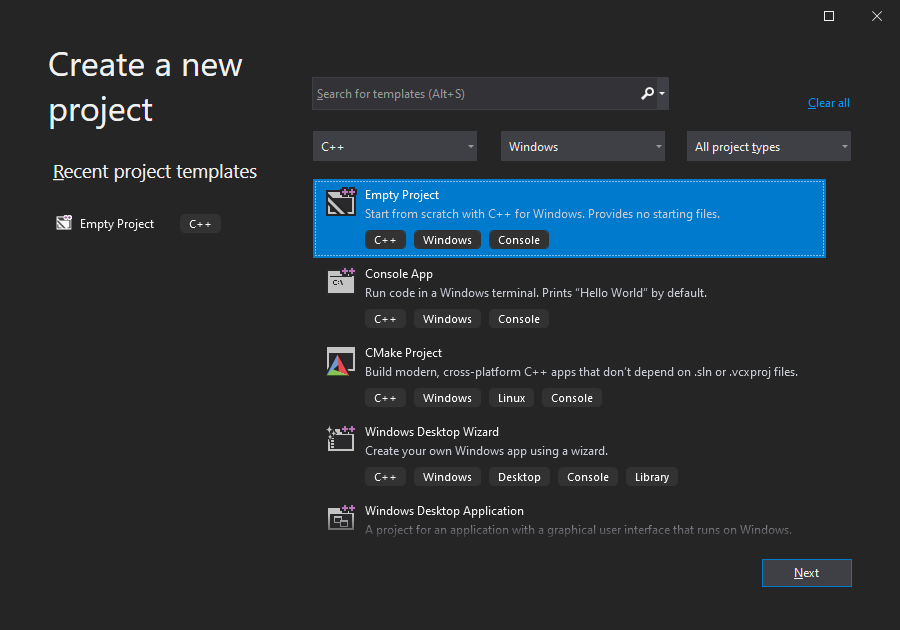
Step 6: Set up the tesseract libraries for use in Visual Studio
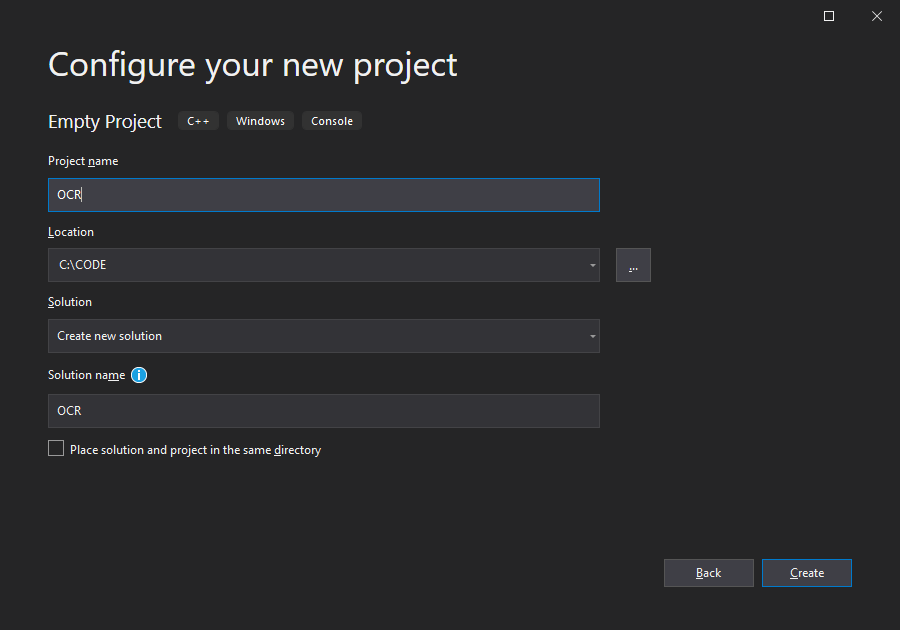
In Visual Studio, create a new empty Visual Studio project.
Add a new source file to your project in order to exercise the tesseract functionality.
#include <tesseract/baseapi.h>
#include <leptonica/allheaders.h>
int main()
{
char* outText;
tesseract::TessBaseAPI* api = new tesseract::TessBaseAPI();
// Initialize tesseract-ocr with English, without specifying tessdata path
if (api->Init("C:\\CODE\\ocr\\tessdata", "eng")) {
fprintf(stderr, "Could not initialize tesseract.\n");
exit(1);
}
// Open input image with leptonica library
Pix* image = pixRead("C:\\temp\\text1.png");
api->SetImage(image);
// Get OCR result
outText = api->GetUTF8Text();
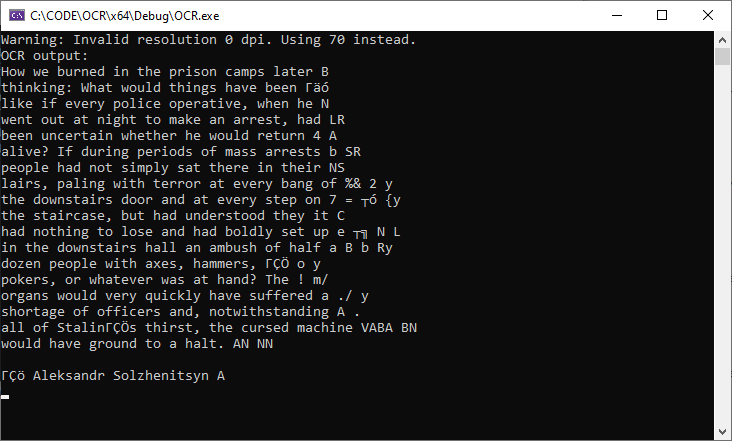
printf("OCR output:\n%s", outText);
// Destroy used object and release memory
api->End();
delete api;
delete[] outText;
pixDestroy(&image);
return 0;
}
Set up the include and data folders in your Visual Studio solution folder.

‘tessdata’ contains the tesseract data file(s) mentioned in Step 5.
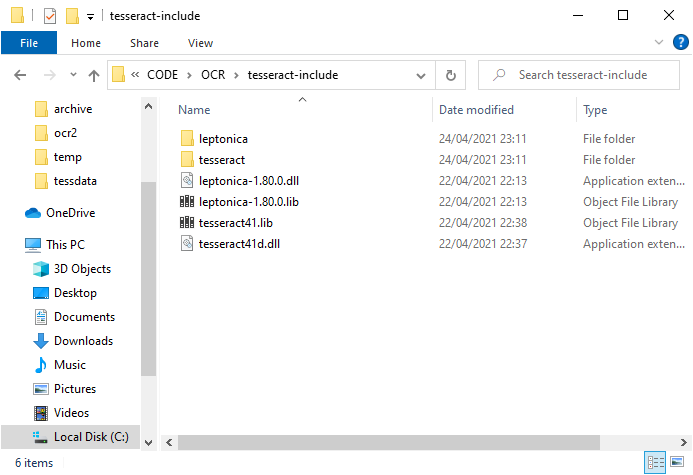
‘tesseract-include’ contains the lib / dll files needed for the project.
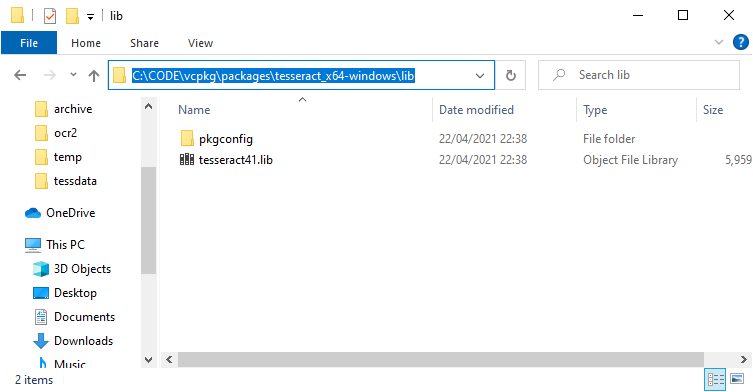
You can obtain the tesseract / leptonica .lib library files from the ‘packages’ folder that was installed previously.
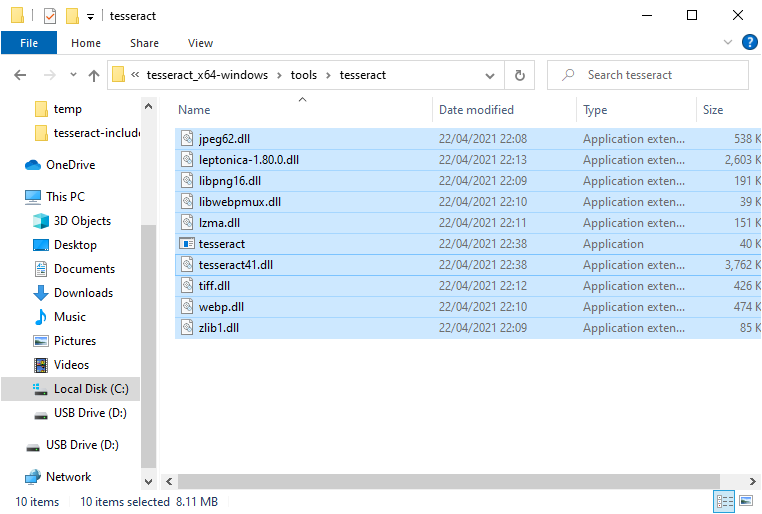
You can obtain the tesseract / leptonica dll and all other files files from the ‘tools’ folder that was installed previously.
Obtain the tesseract / leptonica header files from the ‘include’ folder that was installed previously.
Leptonica example:

Do the same for tesseract:
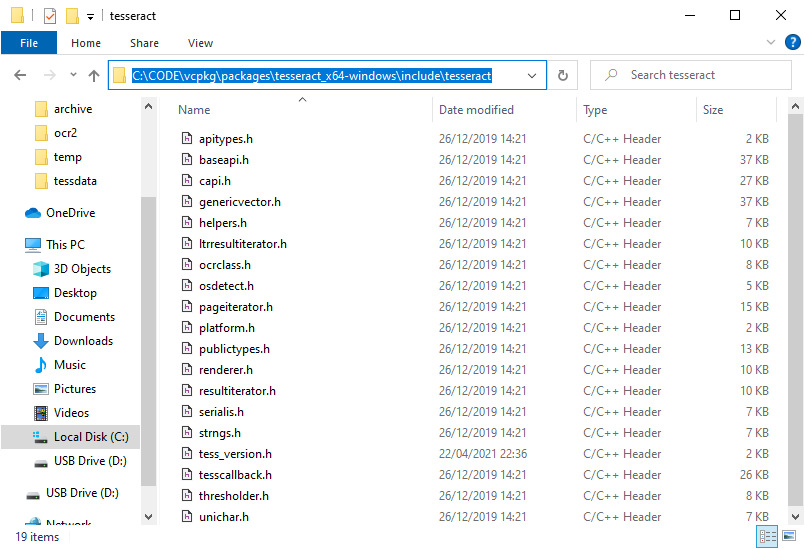
Copy the header files into the tesseract-include\{tesseract, leptonica} folders you created for your Visual Studio project.
Step 7: Set up the Visual Studio project properties
Once we have copied over the files we need for our sample project, we are able to set up the project properties.
In Visual Studio right-click the project folder and select properties.
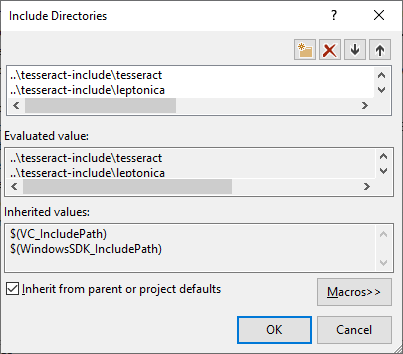
Select General > VC++ Directories, and set the include directories:
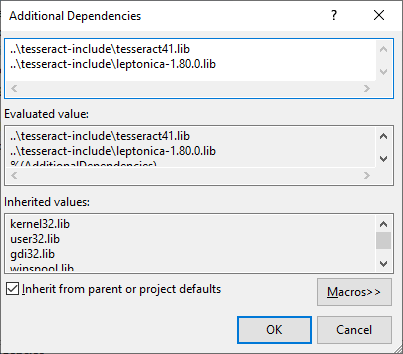
In Linker > Additional Dependencies, set the .lib files:
Step 8: Try it!
Rebuild and run/debug your visual studio project.
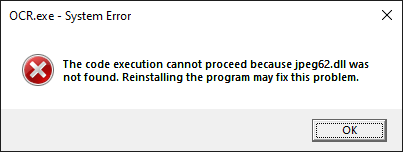
If you get an error complaining of a missing dll, copy the dlls from the vcpkg\packages\tesseract_x64-windows\tools\tesseract folder into your Debug / Release folder.
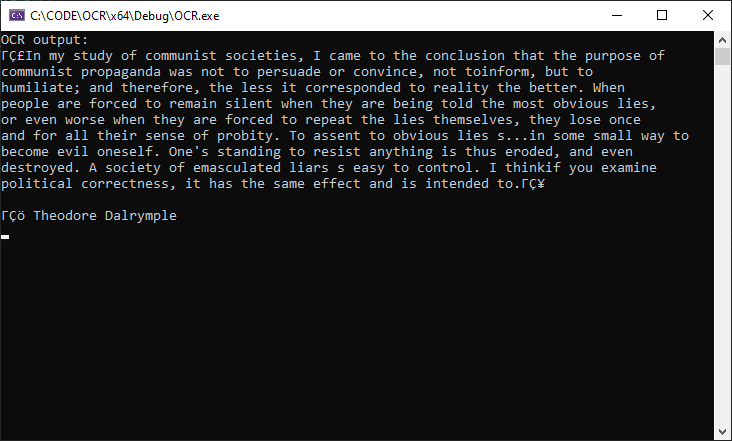
Example image containing the text that we wish to read:
Console output:
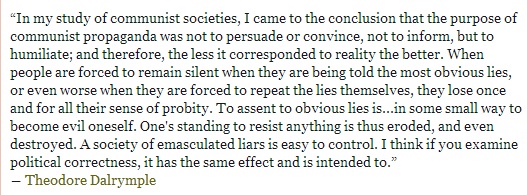
Another example image, this time containing a quote from Aleksandr Solzhenitsyn:
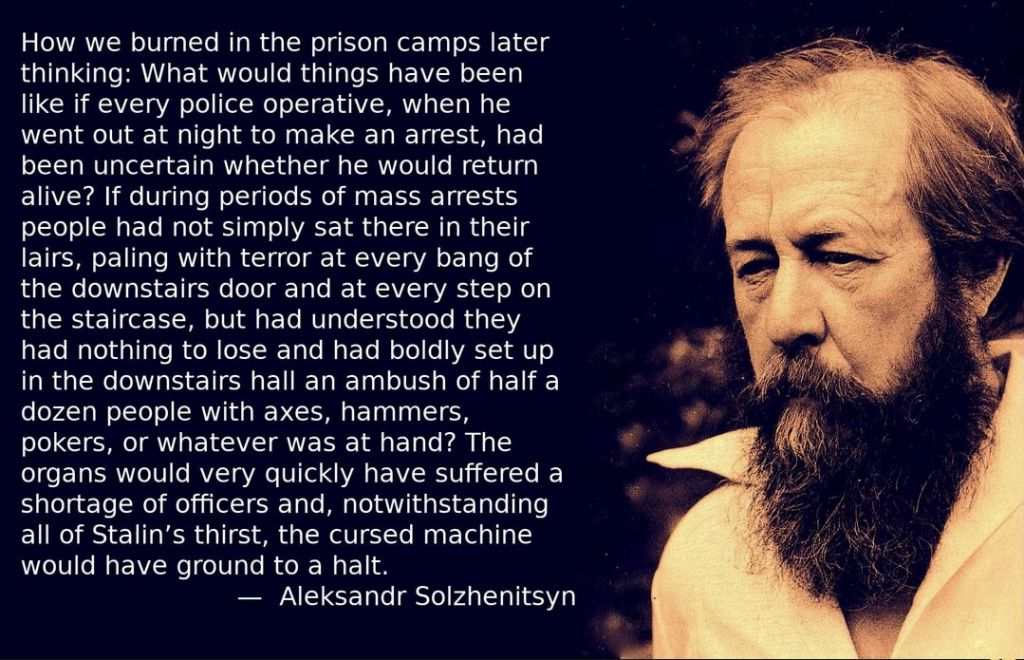
Console output: