Tag: Aurelia

  • Getting started with Aurelia Dialog

    Firstly in your project folder make sure Aurelia dialog has been installed:

    npm i aurelia-dialog
    

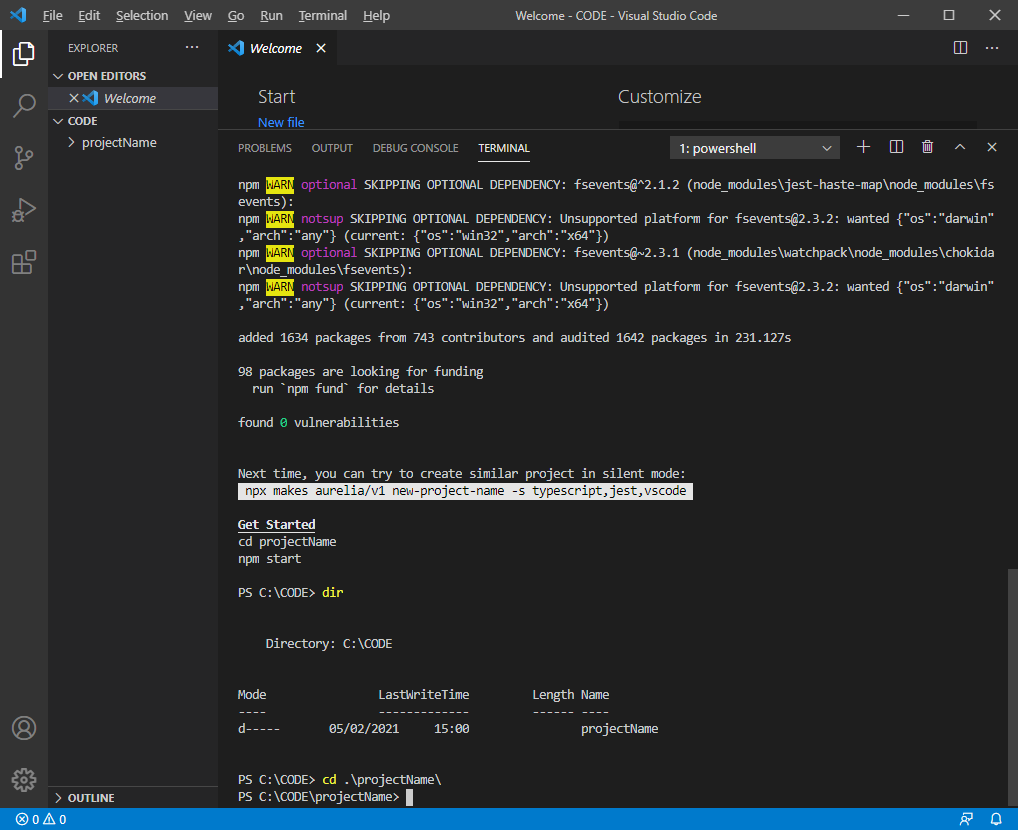
    Also see this following link on how to get started in creating, building, running etc a new Aurelia project:

    https://www.technical-recipes.com/2019/getting-started-with-aurelia-js-part-2/

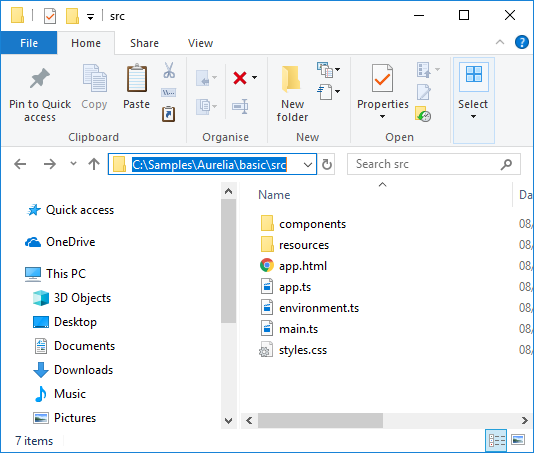
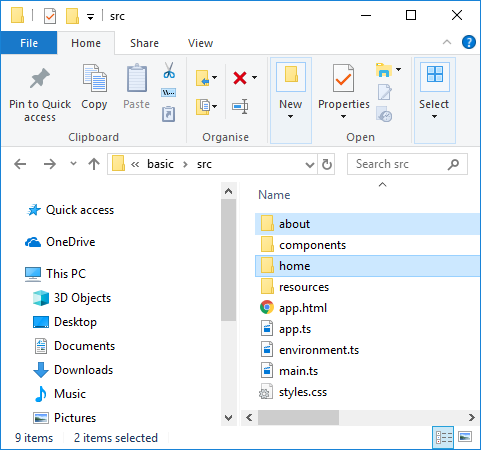
    In your src folder create the following files as a bare minimum dialog example:

    dialog.html

    <template>
        <style>
            div.div{
                border: 1px solid blue;
                padding: 15px;
            }
        </style>
    
        <div class="div">
            <div>
                <h1>${title}</h1>
            </div>
        
            <div>
                <p1>${message}...</p1>
            </div>
        
            <div>
                <button click.delegate="ok()">OK</button>
            </div>
        </div>
    </template>
    

    dialog.ts

    In this example we create the dialog with three properties: title and message string and a callback action for when the OK button is clicked:

    import {DialogController} from 'aurelia-dialog';
    import { autoinject, inject } from 'aurelia-framework';
    
    @autoinject
    
    export class Dialog {    
        title?: string;
        message?: string;
        action?: (args?: any) => {};
    
        constructor(private dialogController : DialogController) {
            dialogController.settings.centerHorizontalOnly = true;
        }
    
        activate(model : any) {
            this.message = model.message;
            this.title = model.title;
            this.action = model.action;
         }
    
         ok() : void {
             this.action();
            this.dialogController.ok();
         }
    }
    

    And modify the app.{html, ts} and main.ts files as follows:

    app.html

    <template>
         <button click.delegate="openDialog()" >Open</button>  
    </template>
    

    app.ts

    import { autoinject } from "aurelia-framework";
    import { DialogService } from "aurelia-dialog";
    import { Dialog } from "dialog";
    
    @autoinject
    export class App {
    
      constructor(private dialogService : DialogService) {}
      attached(): void {
      }
    
      openDialog() : void {
        this.dialogService.open( {viewModel: Dialog, 
            model: {message : 'Message text...', 
              title: 'Title text...', action: this.action} }).then(response => {
          console.log(response);
       });
      }
    
      action() : void {
        alert('OK button pressed');
      }
    }
    

    main.ts

    import {Aurelia} from 'aurelia-framework'
    import * as environment from '../config/environment.json';
    import {PLATFORM} from 'aurelia-pal';
    
    export function configure(aurelia: Aurelia) {
      aurelia.use
        .standardConfiguration()
        .feature(PLATFORM.moduleName('resources/index'));
    
      aurelia.use.developmentLogging(environment.debug ? 'debug' : 'warn');
      aurelia.use.plugin(PLATFORM.moduleName('aurelia-dialog'));
    
      if (environment.testing) {
        aurelia.use.plugin(PLATFORM.moduleName('aurelia-testing'));
      }
      
      aurelia.start().then(() => aurelia.setRoot(PLATFORM.moduleName('app')));
    }
    

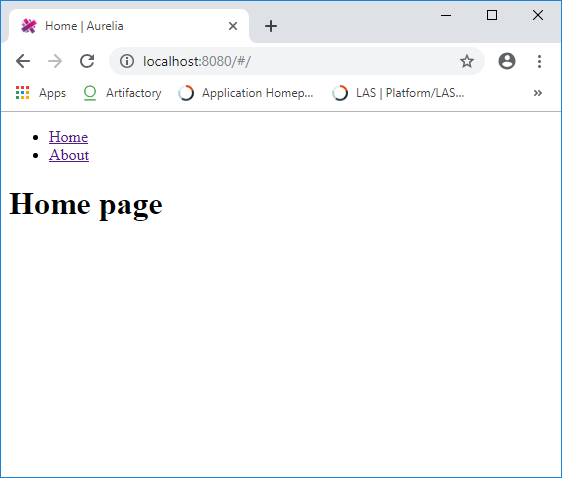
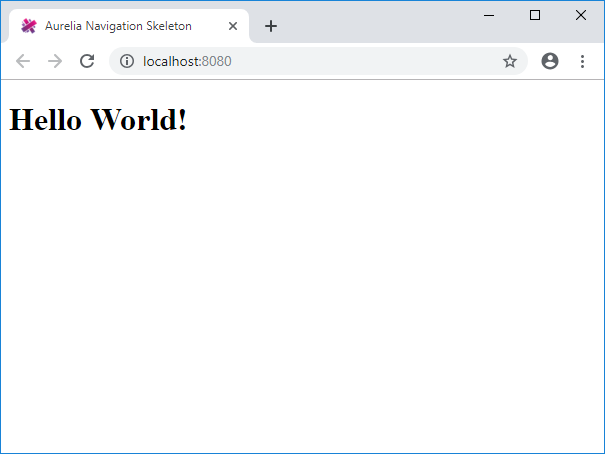
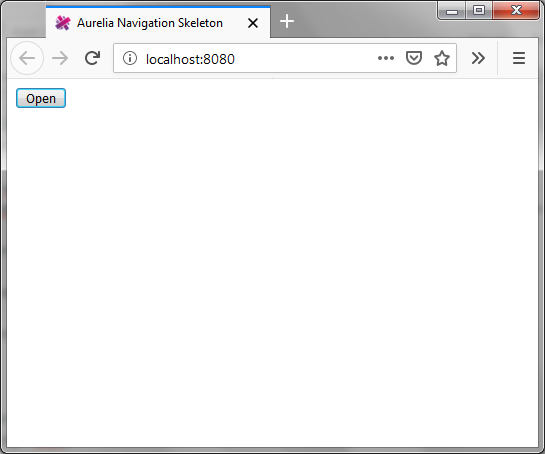
    Do an ‘au build’, followed by an ‘au run’ and see main windows appear as follows:

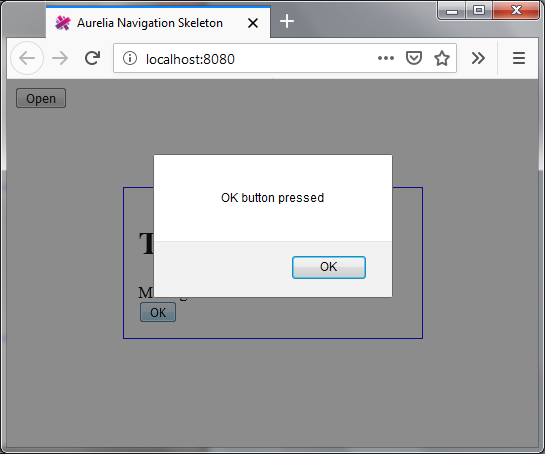
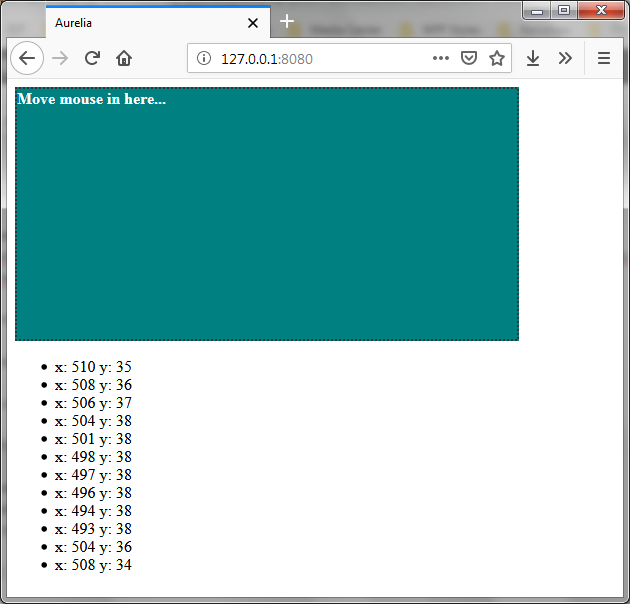
    On clicking Open the Aurelia dialog is launched as shown:

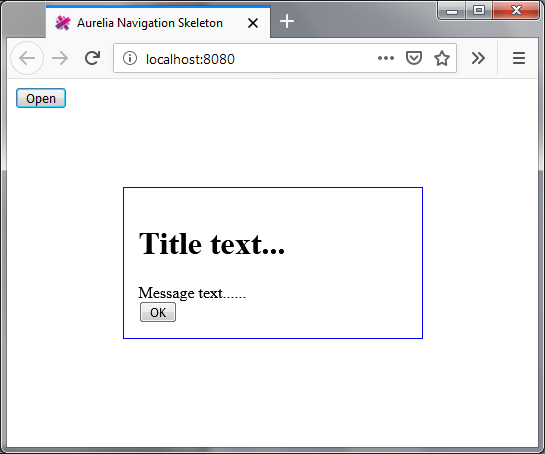
    On clicking OK the callback is invoked, in this example the action creates an alert:

  • Getting started with Aurelia routing in Visual Studio Code

    Some instructions on how to get started with a very simple TypeScript-based example in a Visual Studio Code development environment.

    1. Create a new Aurelia project

    If you’re unfamiliar with creating a new Aurelia project see this existing post for more instructions:

    https://www.technical-recipes.com/2019/getting-started-with-aurelia-in-visual-studio-code/

    In the options presented during project creation I choose to use TypeScript.

    The files we are interested in modifying will be created in the src /folder as shown:

    2. Create the web pages

    Create two more sub-folders within the src folder: ‘home’ and ‘about’:

    Into these folders will insert the files home.html, home.ts, about.html, about.ts:

    home.html

    <template>
      <h1>Home page</h1>
    </template>
    

    home.js

    export class Home {}
    

    about.html

    <template>
      <h1>About page</h1>
    </template>
    

    about.js

    export class About {}
    

    3. Configure the router in app.ts / app.html

    In the router set up we care about config.map which is used to add the routes.

    app.html

    <template>   
        <nav>
            <ul>
                <li repeat.for="row of router.navigation" class="${row.isActive ? 'active' : ''}">
                    <a href.bind="row.href">${row.title}</a>
                </li>
            </ul>
        </nav>	
        <router-view></router-view>    
    </template>
    

    app.ts

    import { RouterConfiguration, Router } from "aurelia-router";
    import { PLATFORM } from "aurelia-pal";
    
    export class App {
      message = "Aurelia routing app";
      router: Router;
    
      configureRouter(config: RouterConfiguration, router: Router) {
        config.title = "Aurelia";
        this.router = router;
    
        config.map([
          {
            route: ["", "home"],
            name: "home",
            moduleId: PLATFORM.moduleName("home/home"),
            nav: true,
            title: "Home"
          },
          {
            route: "about",
            name: "about",
            moduleId: PLATFORM.moduleName("about/about"),
            nav: true,
            title: "About"
          }
        ]);
      }
    }
    

    One important gotcha is when we keep getting the error “Unable find module with ID”.

    This has been covered at Stack Overflow:

    https://stackoverflow.com/questions/46088319/getting-the-error-unable-find-module-with-id-with-aurelia-router

    The fix is to basically pass the url into PLATFORM.moduleName(…).

    And on running the app we see that we are provided with navigable links to the two pages we created. Feel free to try this out and add more complex routes, stylings etc.

  • Getting started with Aurelia in Visual Studio Code

    An alternative and possibly simpler approach to getting set up and using Aurelia.

    The previous approach can be found at the following link

    https://www.technical-recipes.com/2019/getting-started-with-aurelia-js/

    Prerequisites

    The Aurelia CLI has a pre-requisite, Node.js. Get it from here:

    https://nodejs.dev/download/

    In Visual Studio Code press Ctrl + P and type the following command:

    ext install aurelia
    

    Still in Visual Studio Code, install the Aurelia CLI via the following command:

    npm install aurelia-cli -g
    

    Step 1: Create a project folder

    In Windows Explorer create a directory for your Aurelia code projects if you have not yet done so:

    Step 2: Create the Aurelia project

    Open Visual Studio Code and in the terminal window enter the ‘au new’ command plus the name of your Aurelia project:

    au new projectName
    

    When prompted, select if you want your project to be TypeScript, ES etc and hit return:

    If you get the following error: “au.ps1 cannot be loaded because running scripts is disabled on this system”

    A good fix can be found at the following StackOverflow link:

    https://stackoverflow.com/questions/58796490/tsc-ps1-cannot-be-loaded-because-running-scripts-is-disabled-on-this-system

    Be sure to run Powershell as an administrator and run the following command:

    Set-ExecutionPolicy -ExecutionPolicy RemoteSigned
    

    And then select yes to install project dependencies and hit return again:

    Step 3: Run the Aurelia project

    Navigate to the project folder that was created:

    Type in the command au run:

    Copy the link url that is displayed http://localhost:8080 into a browser and refresh that page:

    If you get problems…

    Sometimes when running the command ‘au run’ you might get the following console output containing:

    Error: listen EACCES 127.0.0.1:8080

    Local aurelia-cli v1.0.0-beta.12
    Starting 'configureEnvironment'...
    Finished 'configureEnvironment'
    Starting 'runWebpack'...
    { uid: 2,
      name: 'runWebpack',
      branch: false,
      error:
       { Error: listen EACCES 127.0.0.1:8080
        at Server.setupListenHandle [as _listen2] (net.js:1328:19)
        at listenInCluster (net.js:1386:12)
        at GetAddrInfoReqWrap.doListen [as callback] (net.js:1501:7)
        at GetAddrInfoReqWrap.onlookup [as oncomplete] (dns.js:72:10)
         errno: 'EACCES',
         code: 'EACCES',
         syscall: 'listen',
         address: '127.0.0.1',
         port: 8080,
         domainEmitter:
         ...
         ...
    

    This link is useful for this problem:

    https://teamtreehouse.com/community/solution-to-the-error-listen-eaddrinuse-1270018080

    To summarise, use these commands:

    1. Find the PID number for 127.0.0.1:8080

    > netstat -ano | findstr :8080
    

    Which is 8264 in this example.

    2. Kill the task for that PID number:

    taskkill /pid 8264 /f
    

    If that still fails…

    There is another fix described in the link above, which is to modify the webpack.config.js file such that module.exports = … contains:

    devServer: {
        historyApiFallback: true,
        contentBase: "./",
        port: 3000
      }
    

    This will enable the dev environment to be run on a different port to 8080:

    And try it again

  • My Aurelia cheat sheet

    A collection for Aurelia / typescript / javascript as and when I encounter them.

    For a post on getting set up with Aurelia JS see this post:

    https://www.technical-recipes.com/2019/getting-started-with-aurelia-js/

    https://www.technical-recipes.com/2019/getting-started-with-aurelia-js-part-2/

    1. Hello World!

    app.js

    export class App {  
       constructor() {
          this.myData = 'Welcome to Aurelia app!';
       }
    }
    

    app.html

    <template>
       <h3>${myData}</h3>
    </template>
    

    Giving the following output:

    Hello World!
    Hello World!

    2. Detecting mouse movement events

    From here: https://bl.ocks.org/Vheissu/db72c2d41709697134654d5287913c0c

    app.html

    <template>
      <div mousemove.delegate="mousemove($event)" style="background: teal; border: 2px dotted #333; color: #FFF; font-size: 16px; font-weight: bold; height: 250px; width:500px;">Move mouse in here...</div>
      <ul if.bind="mouseevents">
        <li repeat.for="mouseevent of mouseevents">x: ${mouseevent.x} y: ${mouseevent.y}</li>
      </ul>
    </template>
    

    app.js

    export class App {  
      constructor() {
        this.mouseevents = [];
      }
      
      mousemove(e) {
        this.mouseevents.push({x: e.clientX, y: e.clientY});
      }
    }
    

    Giving the following output:

    Aurelia
    Detecting mouse event in Aurelia

    3. Two-way data binding

    In this example we have our view-model and view linked. Firstly the text is set in the constructor. Then whenever we enter some text inside the input field, the view will be updated.

    app.js

    export class App {  
       constructor() {
          this.myData = 'Enter some text!';
       }
    }
    

    app.html

    <template>
       <input id = "name" type = "text" value.bind = "myData" />
       <h3>${myData}</h3>
    </template>
    

    Giving the following output:

    Two-way binding
    Two-way binding

    4. Displaying a list of controls using repeat.for

    Firstly an excellent page at ‘I Like Kill Nerds’ blog which gives lots of useful examples:

    https://ilikekillnerds.com/2015/10/working-with-the-repeater-in-aurelia/

    A more basic get-you-started example here:

    app.html

    <template> 
      <div repeat.for="message of messages">
        <strong>Message: </strong>${message}    
    </div>
    </template>
    

    app.js

    export class App {  
      messages = ["ABC", "DEF", "123", "XYZ"];
    }
    

    Giving the following output: