This post assumes that you are working on an existing MFC project and wish to add a tabbed dialog to your application. This example was created in Visual Studio 2008. Like most of the other postings here, there is not much in the way of extra bells and whistles, just a very simple example to get you started… VS2003 download available here.
Create a Property Sheet:
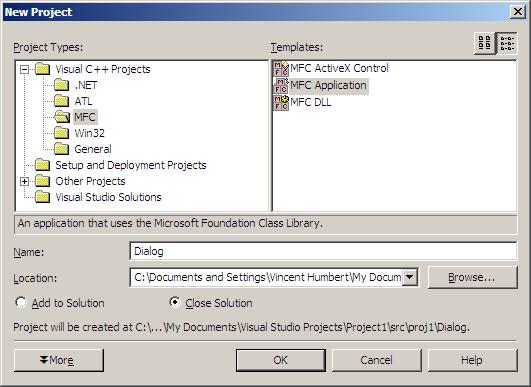
In the main menu, click Project -> Add Class -> MFC Class.

Set the Class Name eg CImageSheet and set the Base Class to a CPropertySheet. Click Finish and OK:

This will generate the “ImageSheet.h” header file and class definition.
Create Property Pages:
In the main menu, click Project -> Add Class -> MFC Class. Set the Class Name eg CImageDimensions and set the Base Class to a CPropertyPage:

Repeat for as many other property pages as needed:

Modify the Property Sheet class:
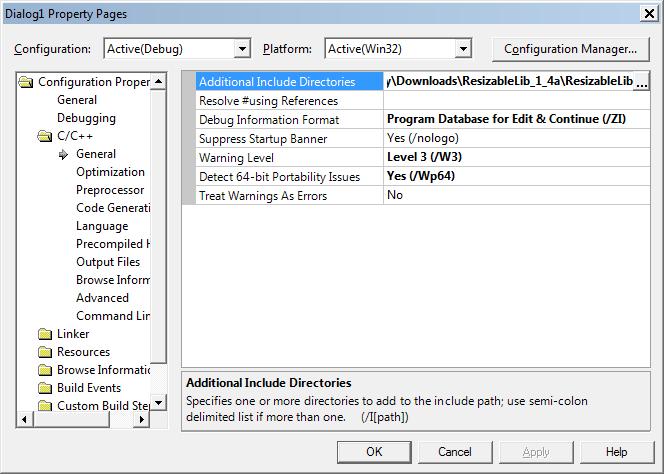
Modify this class so that it contains additional includes for all the property pages you want to add. Also include code for the the OK/CANCEL buttons and their Windows messaging functions and the OnInitDialog() function:
#pragma once

#include "ImageDisplay.h"
#include "ImageDimensions.h"

// CImageSheet
class CImageSheet : public CPropertySheet
{
	DECLARE_DYNAMIC(CImageSheet)

public:
	CImageSheet(UINT nIDCaption, CWnd* pParentWnd = NULL, UINT iSelectPage = 0);
	CImageSheet(LPCTSTR pszCaption, CWnd* pParentWnd = NULL, UINT iSelectPage = 0);
	virtual ~CImageSheet();
	virtual BOOL OnInitDialog();

private:

	CButton m_OKbutton;
	CButton m_Cancelbutton;

protected:

	afx_msg void OnOKButton();
	afx_msg void OnCancelButton();

	DECLARE_MESSAGE_MAP()
};
Set the OnInitDialog() initialization:
//
// Message handler for when user initializes dialog
//
BOOL CImageSheet::OnInitDialog()
{
	CWnd* pOKButton = GetDlgItem( IDOK );
	ASSERT( pOKButton );
	pOKButton->ShowWindow( SW_HIDE );

	CWnd* pCANCELButton = GetDlgItem( IDCANCEL );
	ASSERT( pCANCELButton );
	pCANCELButton->ShowWindow( SW_HIDE );

	// Set Flags for property sheet
	m_bModeless    =  FALSE;
	m_nFlags      |=  WF_CONTINUEMODAL;
	BOOL bResult   = CPropertySheet::OnInitDialog();
	m_bModeless    =  TRUE;
	m_nFlags      &=  ~WF_CONTINUEMODAL;

	//Get button sizes and positions
	CRect rect, tabrect;
	GetDlgItem( IDOK )->GetWindowRect( rect );
	GetTabControl()->GetWindowRect( tabrect );

	ScreenToClient( rect );
	ScreenToClient( tabrect );

	//Create new OK button and set standard font
	m_OKbutton.Create( "OK",
						BS_PUSHBUTTON | WS_CHILD | WS_VISIBLE | WS_TABSTOP,
						rect,
						this,
						IDC_IMAGE_OK );

	m_OKbutton.SetFont( GetFont() );

	//Get CANCEL button size and position
	GetDlgItem( IDCANCEL )->GetWindowRect( rect );
	ScreenToClient( rect );

	//Create new SAVE button (where CANCEL was) and set standard font
	m_Cancelbutton.Create( "Cancel",
							BS_PUSHBUTTON | WS_CHILD | WS_VISIBLE | WS_TABSTOP,
							rect,
							this,
							IDC_IMAGE_CANCEL );

	m_Cancelbutton.SetFont( GetFont() );
	UpdateData( FALSE );

	return bResult;
}
And the Message Maps:
BEGIN_MESSAGE_MAP(CImageSheet, CPropertySheet)
	ON_BN_CLICKED(IDC_IMAGE_OK, OnOKButton)
	ON_BN_CLICKED(IDC_IMAGE_CANCEL, OnCancelButton)
END_MESSAGE_MAP()
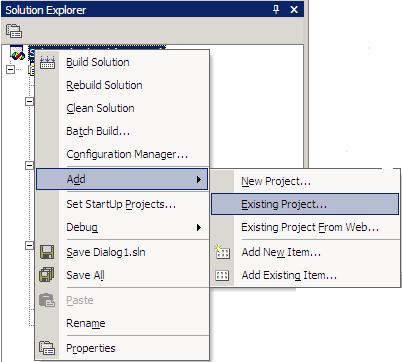
Add any other additional includes
The #include “resource.h” should be included in the property page class definitions.
Add the necessary identifiers in the resource.h header file:
#define IDC_IMAGE_OK                    1000
#define IDC_IMAGE_CANCEL                1001
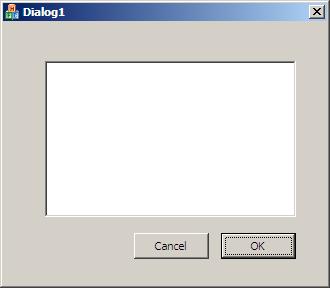
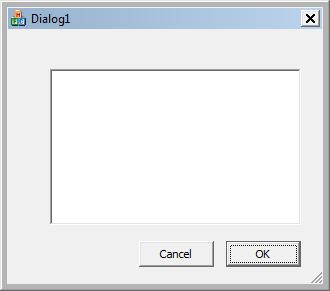
Run your Tabbed Dialog:
CImageSheet*      imagedlg            = new CImageSheet( "Image Capture Dialog" );
CImageDisplay*    pageImageDisplay    = new CImageDisplay;
CImageDimensions* pageImageDimensions = new CImageDimensions;

ASSERT( imagedlg );
ASSERT( pageImageDisplay );
ASSERT( pageImageDimensions );

imagedlg->AddPage( pageImageDimensions );
imagedlg->AddPage( pageImageDisplay );

imagedlg->Create( this,
                  -1,
                  WS_EX_CONTROLPARENT | WS_EX_TOOLWINDOW );

imagedlg->ShowWindow( SW_SHOW );
Click here for sample VS2003 project.