A cut-down version of the quickstart tutorial given at Aurelia’s official site:
https://aurelia.io/docs/tutorials/creating-a-todo-app
The Aurelia CLI has a pre-requisite, Node.js. Get it from here:
Step 1: Download the Basic Aurelia Project Setup
Get the zip file from this link:
http://aurelia.io/downloads/basic-aurelia-project.zip
Step 2: Create a project
In Windows Explorer create a directory for your Aurelia project:
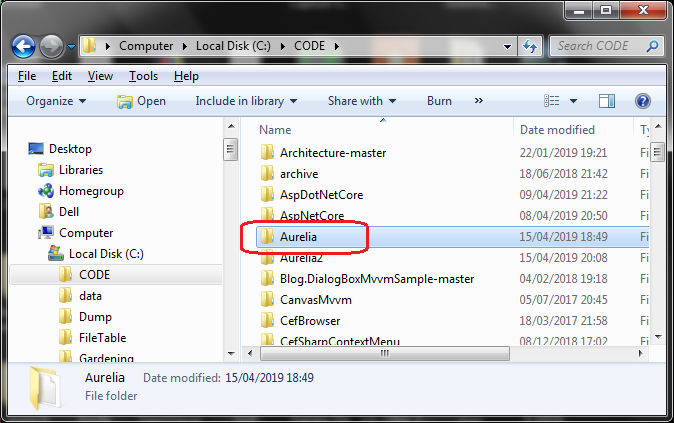
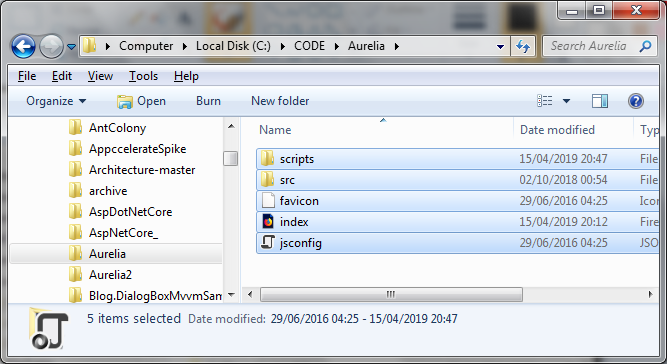
Extract the files from the basic Aurelia project setup and paste them into here:
Step 3: Create an example Todo.js class
In the src/ folder insert the following code for todo.js
todo.js
export class Todo {
    constructor(description) {
      this.description = description;
      this.done = false;
    }
  }
Step 4: Add the app.js class
In the src/ folder add the following app.js file:
app.js
import {Todo} from './todo';

  export class App {
    constructor() {
      this.heading = "Todos";
      this.todos = [];
      this.todoDescription = '';
    }

    addTodo() {
      if (this.todoDescription) {
        this.todos.push(new Todo(this.todoDescription));
        this.todoDescription = '';
      }
    }

    removeTodo(todo) {
      let index = this.todos.indexOf(todo);
      if (index !== -1) {
        this.todos.splice(index, 1);
      }
    }
  }
Step 5: Add the main.js class
In the src/ folder add the main.js file:
main.js
import {Aurelia} from 'aurelia-framework';

  export function configure(aurelia: Aurelia) {
    aurelia.use.basicConfiguration();
    aurelia.start().then(() => aurelia.setRoot());
  }
Step 7: Add the app.html
app.html
<template>
  <h1>${heading}</h1>

    <form submit.trigger="addTodo()">
      <input type="text" value.bind="todoDescription">
      <button type="submit">Add Todo</button>
    </form>

    <ul>
      <li repeat.for="todo of todos">
        <input type="checkbox" checked.bind="todo.done">
        <span>
          ${todo.description}
        </span>
        <button click.trigger="removeTodo(todo)">Remove</button>
      </li>
    </ul>

 </template>
Step 8: Prepare to run the app
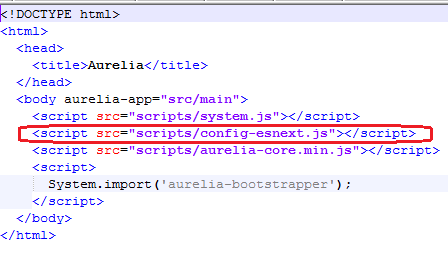
In index.html, rename:
scripts/config-typescript.js to scripts/config-esnext.js
As also documented at this StackOverflow link:
https://stackoverflow.com/questions/42205882/aurelia-error-loading-http-127-0-0-18080-src-main-ts
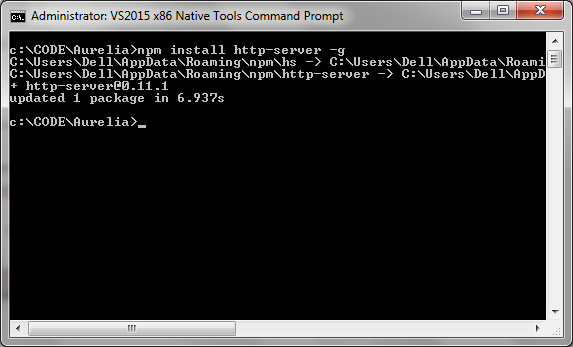
Globally install the http-server command using the following command:
npm install http-server -g
Like so:
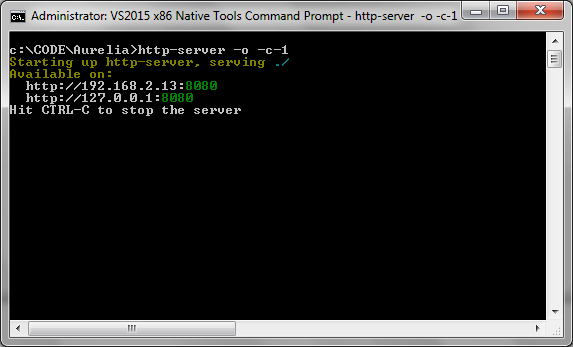
Step 8: Run the app
Fire up the server from within the folder with the following command:
http-server -o -c-1
Like so:
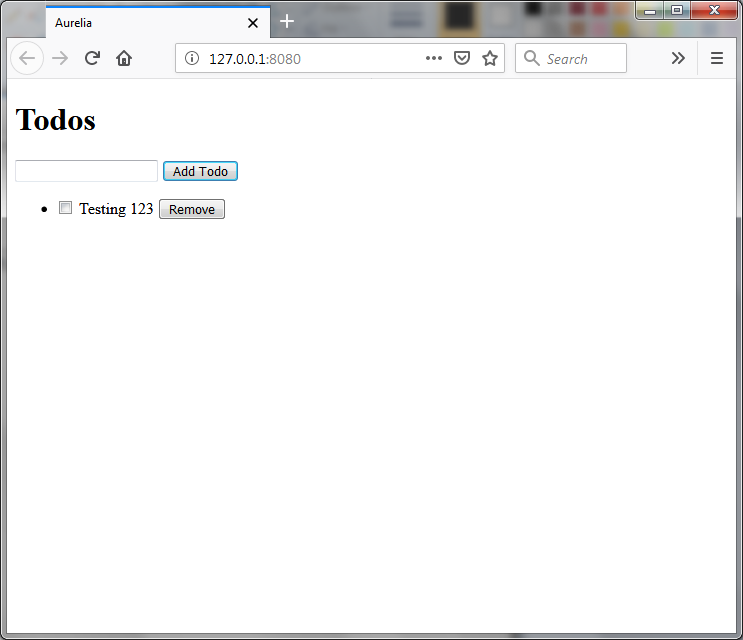
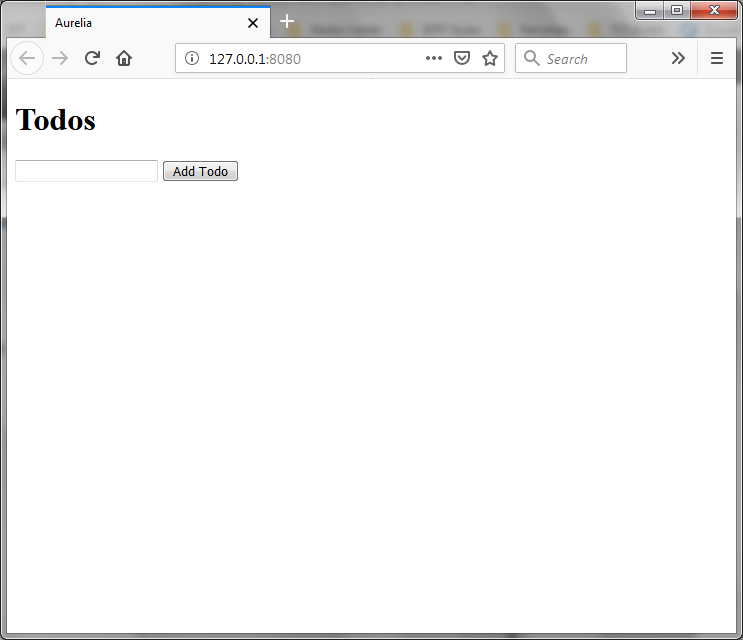
Observe that when the web server is launched in your browser, your “TODO” text is displayed like so:
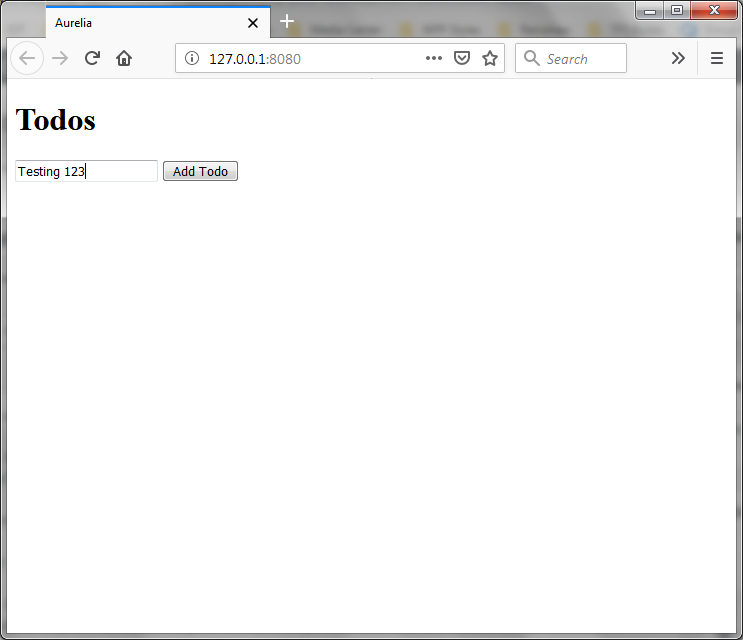
Enter a test value into the text box:
And the new checkbox control will get added as shown: