Some instructions on how to create a very simple Model View Presenter example in Java in the Eclipse development environment.
A reference I found useful, from which I re-use all the code in this post:
http://www.dreamincode.net/forums/topic/353210-swing-passive-model-view-presenter-in-5-minutes/
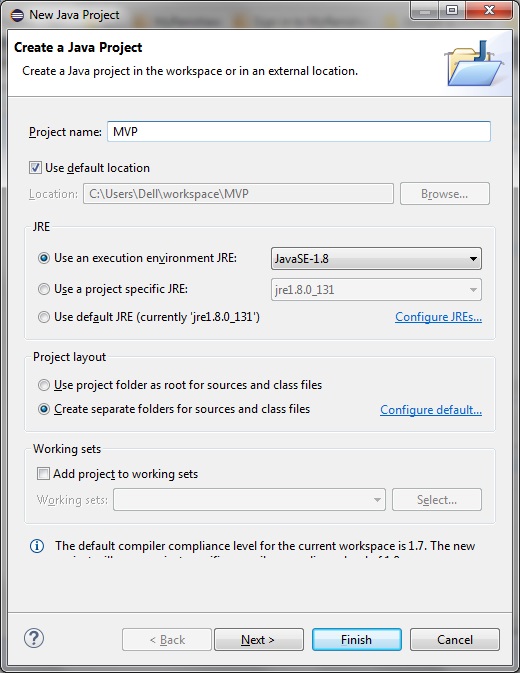
Step 1: Create a new Eclipse project
In Eclipse select File > New > Java Project.
Give your project a name and select the JRE execution environment. For this example I am using JRE-8:
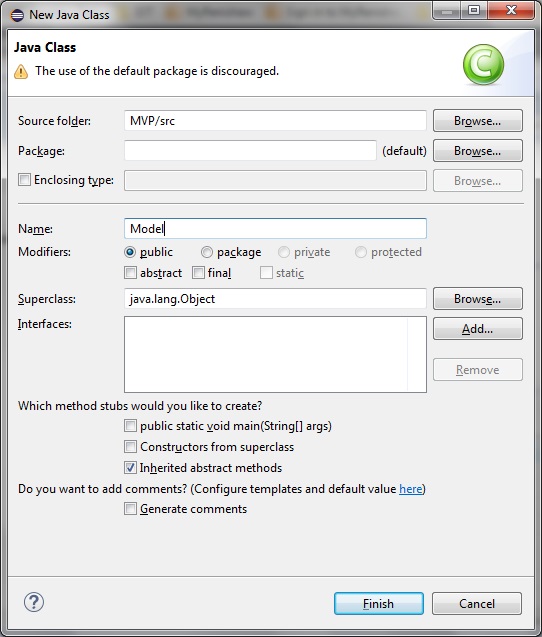
Step 2: Create the Model class
Right-click the src folder in your Eclipse project.
Select New > Class and name it ‘Model’:
Model.java
public class Model
{
    private String password;

    public Model()
    {
        password = "password";
    }

    public void setPassword(String pass)
    {
        password = pass;
    }

    public String getPassword()
    {
        return password;
    }
}
Step 3: Create the Presenter class
Same as in Step 2, right-click the src folder in your Eclipse project.
Select New > Class and name it ‘Presenter’:
Presenter.cs
public class Presenter
{

    private View view;
    private Model model;

    public Presenter(View view, Model model)
    {
        this.view = view;
        this.model = model;
    }

    public void login(String pass)
    {
        String result = "Incorrect password";

        if (model.getPassword().equals(pass))
        {
            result = "Correct password";
        }
        view.updateStatusLabel(result);
    }
}
Step 4: Create the View class
Right-click the src folder in your Eclipse project.
Select New > Class and name it ‘View’:
View.java
import java.awt.BorderLayout;
import java.awt.Color;
import java.awt.event.ActionEvent;

import javax.swing.Box;
import javax.swing.JButton;
import javax.swing.JFrame;
import javax.swing.JPanel;
import javax.swing.JLabel;
import javax.swing.JTextField;

public class View
{
    private Presenter presenter;
    private JLabel statusLabel;
    private JTextField inputField;

    public View()
    {
        createUI();
    }

    private void createUI()
    {
        statusLabel = new JLabel("This updates in reponse to input: ");
        inputField = new JTextField(20);
        JButton loginButton = new JButton("Login");
        loginButton.addActionListener((ActionEvent e) ->
        {
            presenter.login(inputField.getText());
        });

        Box topBox = Box.createHorizontalBox();
        topBox.add(statusLabel);
        topBox.add(Box.createHorizontalStrut(5));
        topBox.add(inputField);
        topBox.add(Box.createHorizontalStrut(5));
        topBox.add(loginButton);

        JFrame frame = new JFrame("Passive MVP Swing");
        ((JPanel)frame.getContentPane()).setBackground(Color.white);
        frame.setDefaultCloseOperation(JFrame.EXIT_ON_CLOSE);
        frame.add(topBox, BorderLayout.NORTH);
        frame.pack();
        frame.setVisible(true);
        frame.setLocationRelativeTo(null);
    }

    public void setPresenter(Presenter pres)
    {
        presenter = pres;
    }

    public void updateStatusLabel(String text)
    {
        statusLabel.setText(text);
    }
}
Step 5: Create the main class
Main.java
import javax.swing.SwingUtilities;

public class Main
{

    public static void main(String[] args)
    {
        SwingUtilities.invokeLater(() ->
        {
            View view = new View();
            view.setPresenter(new Presenter(view, new Model()));
        });
    }
}
On compiling and running the program see that a small dialog is launched as shown:

And on entering the correct password (“password”) the Presenter updates the View as shown:

Comments
2 responses to “Using Eclipse to create a model view presenter project in Java”
Many thx for the example.!! It helps me as intro to MVP perspective as before I had only seen/worked with MVC design pattern
Good to see that. it’s working for others as well. Andy