A container is a means of containing everything an application needs to run: binary files, libraries, configurations etc. Running your application within a container makes it highly portable. Deployment of updated software is often made complicated by certain infrastructure challenges such as trying to make applications behave consistently across different hosting environments. Containerization avoids this challenge by providing a standardized environment for the application to run in. A further advantage of containers is that they consume far less resource than other means of isolation, such as virtual machines (VMs).
An example of how to create containerized application in Visual Studio Code.
1. Create and open a new working folder with application code
Create the app folder and add the main.py file to the folder.
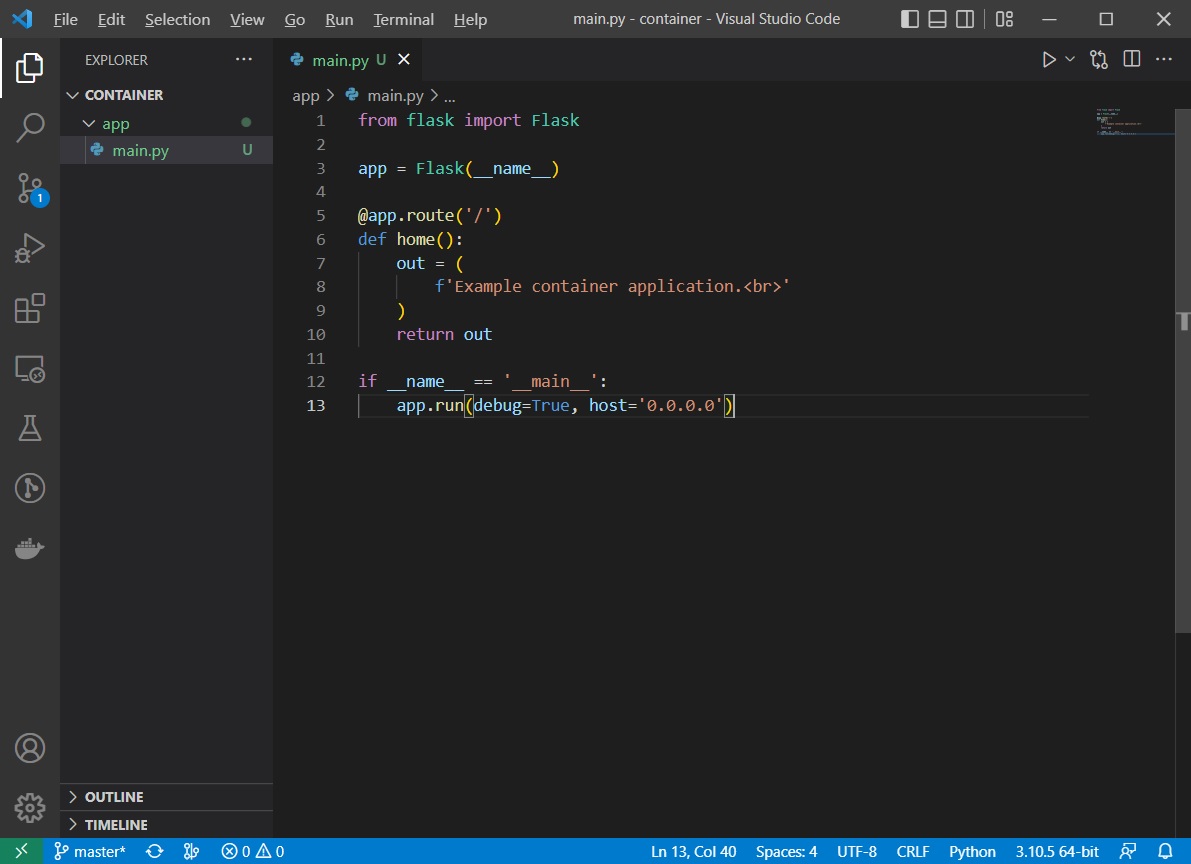
Create a simple Flask application in the main.py file that displays some text that is displayed in your browser when you access the application.
main.py
from flask import Flask

app = Flask(__name__)

@app.route('/')
def home():
    out = (
        f'Example container application.<br>'
    )
    return out

if __name__ == '__main__':
    app.run(debug=True, host='0.0.0.0')
This code is an example Flask application to listen for requests. When you send a request to the application, you will see the required text in your browser. The default listening port for the application is 5000.
Screenshot below:
2. Start the application
In the terminal window, cd to the app folder and run the application.
cd .\app\
python3 main.py
The application is started and is listening on TCP port 5000
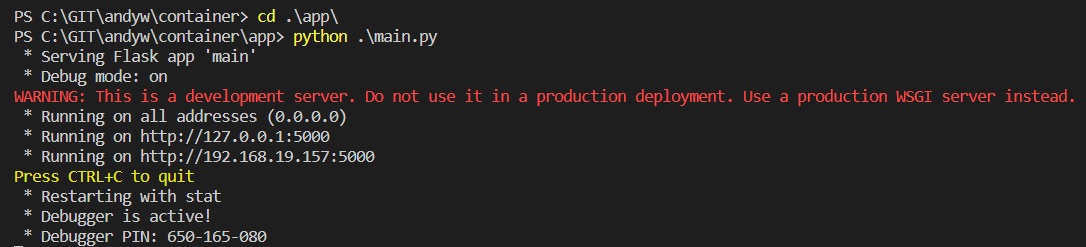
In a web browser open the URL http://localhost:5000 URL to access the application and check the required text is visible:

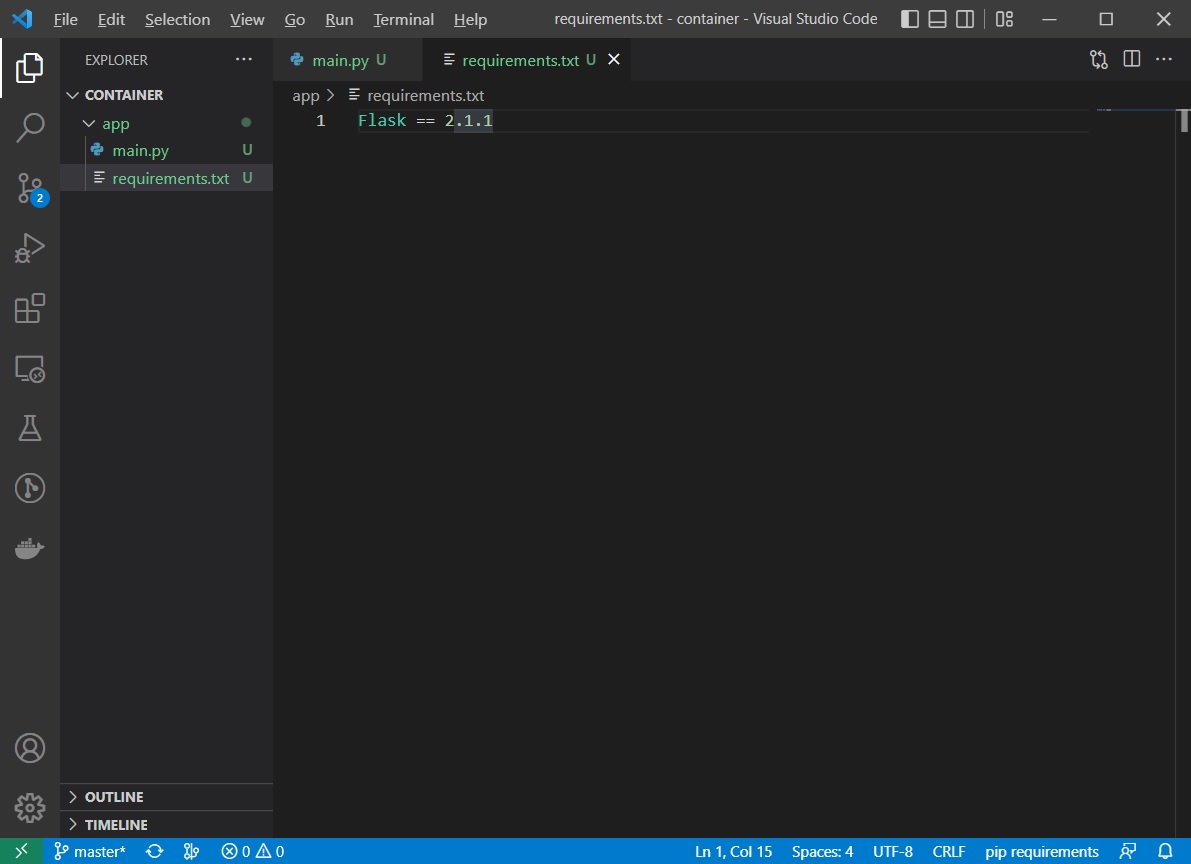
3. Update the requirements.txt file
Create the requirements.txt file in the app folder, used to install required packages in the container and add the entry Flask==2.1.1 to the file.
4. Define the Docker container
Create a new file called Dockerfile in the app folder. Add the following content to the file:
FROM python:3.7

COPY . /app
WORKDIR /app

RUN pip install -r requirements.txt
EXPOSE 5000

CMD ["python3", "main.py"]
Explanation:
FROMpython:3.7 — This instruction specifies that container will use the Python Docker container as a base. The text after “:” specifies the tag, which defines the specific version of the base container that you want to use.
COPY. /app — When you build the container, the content of the current folder (“.”) will be copied to the /app folder in the container.
WORKDIR/app — This instruction specifies that the command that follows it will be executed from this folder.
RUNpip install -r requirements.txt — The RUN instruction specifies the commands that will be executed when building the container. This particular instruction will install required Python packages to the container.
EXPOSE5000 — This instruction specifies that the container will listen on the TCP port 5000 at run time.
CMD[“python3”, “main.py”]—This instruction specifies the commands that will be executed when you start the container.
Build the container using the command:
docker build -t app .
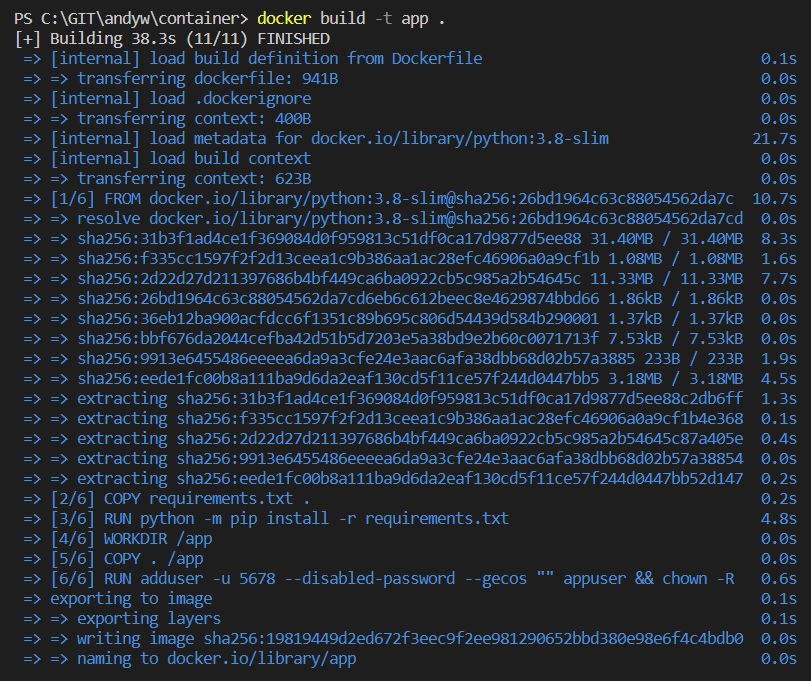
Note: if you have problems error messages with this part, ensure docker is actually running. I also needed to run Visual Studio Code as an administrator.
Then test that your application in the container is working.
Start the container with the command:
docker run -it -p 5000:5000 app
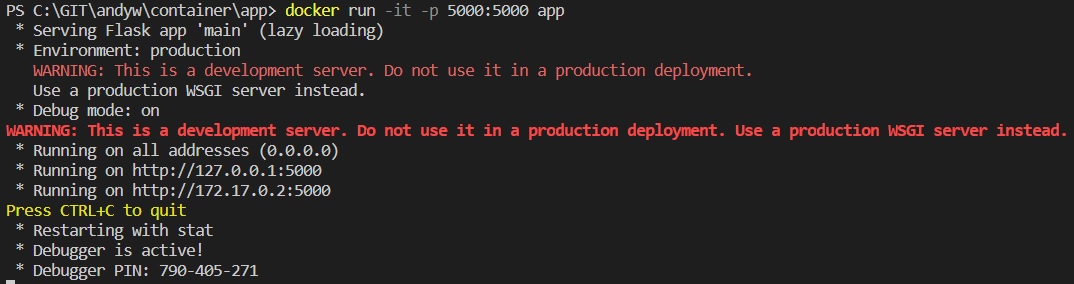
Test that you can still access the application via the web browser at location http://localhost:5000#
5. Define the load balancer container
Use nginx as a load balancer software to add two endpoints to the configuration.
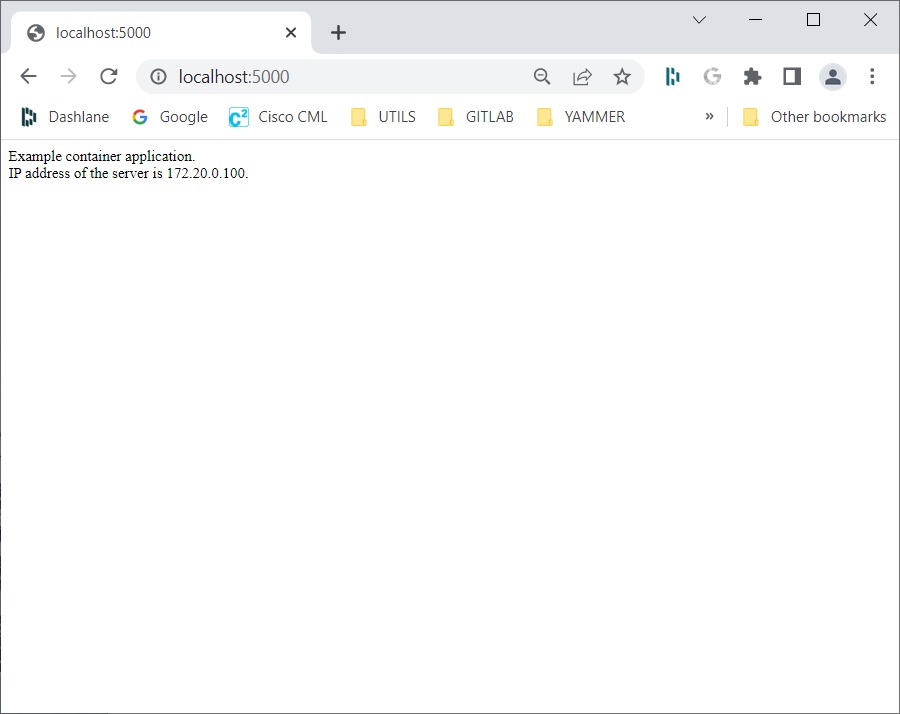
Update your app/main.py application to display the IP address of the current container that is used for the request.
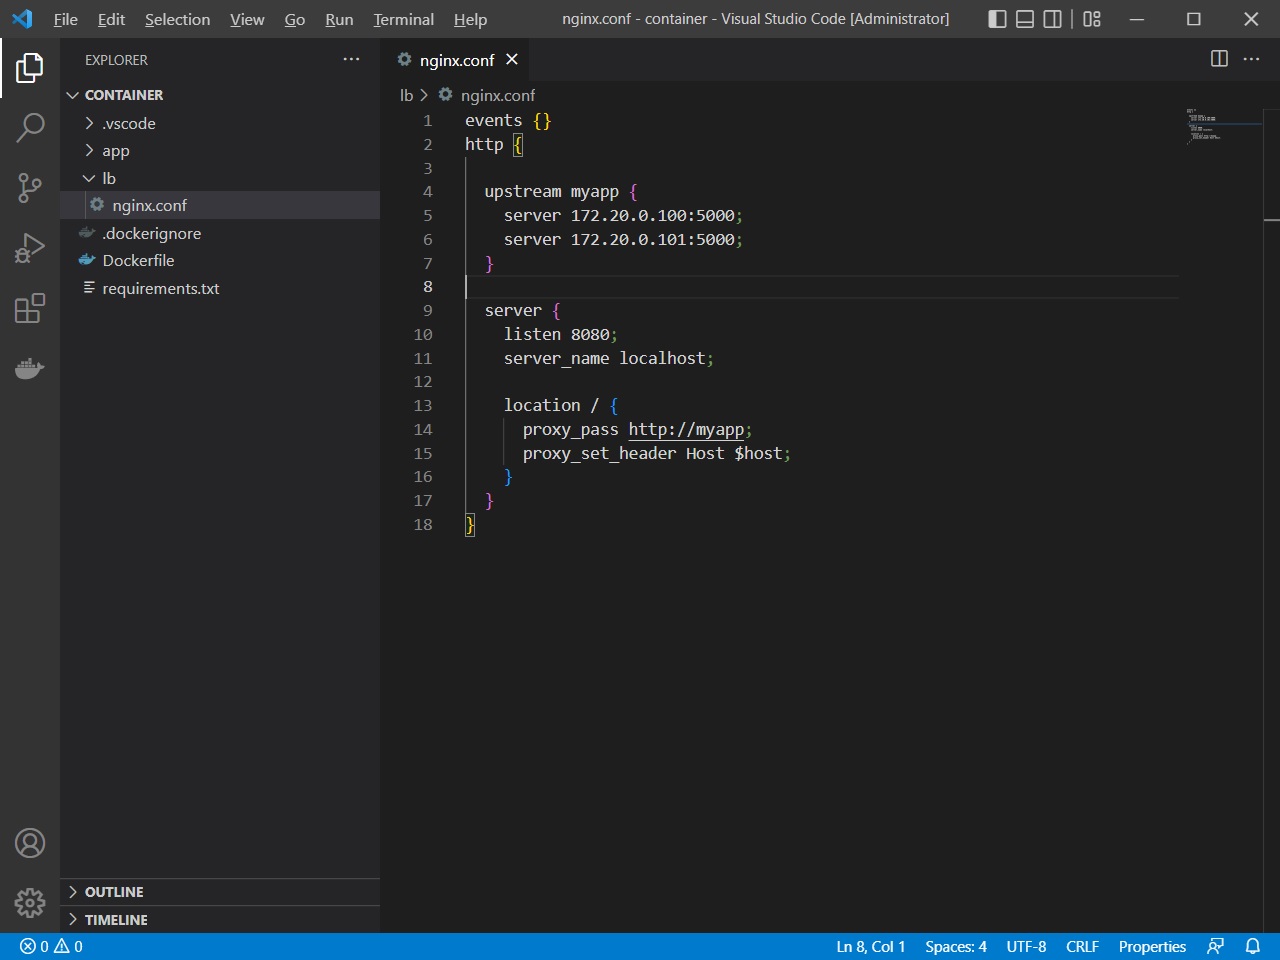
Create a new folder with the name lb. Add the nginx.conf file to the folder to be used as the configuration file for the load balancer.
nginx.conf
events {}
http {

  upstream myapp {
    server 172.20.0.100:5000;
    server 172.20.0.101:5000;
  }

  server {
    listen 8080;
    server_name localhost;

    location / {
      proxy_pass http://myapp;
      proxy_set_header Host $host;
    }
  }
}
Create the file Dockerfile in the lb folder to specify the load balancer container. Add the following content to the Dockerfile file.
Dockerfile
FROM nginx

COPY nginx.conf /etc/nginx/nginx.conf

EXPOSE 8080

CMD ["nginx", "-g", "daemon off;"]
Build the container in the lb folder, with the command:
docker build -t lb .
Add code to locate the IP address of the current application container and output the IP address in the HTTP request display. Update the code in the app/main.py file.
main.py
from flask import Flask
import socket

ip = socket.gethostbyname(socket.gethostname())

app = Flask(__name__)

@app.route('/')
def home():
    out = (
        f'Welcome to Cisco DevNet.<br>'
        f'IP address of the server is {ip}.<br><br>'
    )
    return out

if __name__ == '__main__':
    app.run(debug=True, host='0.0.0.0')
Then rebuild the application container from the app folder via the command:
docker build -t app .
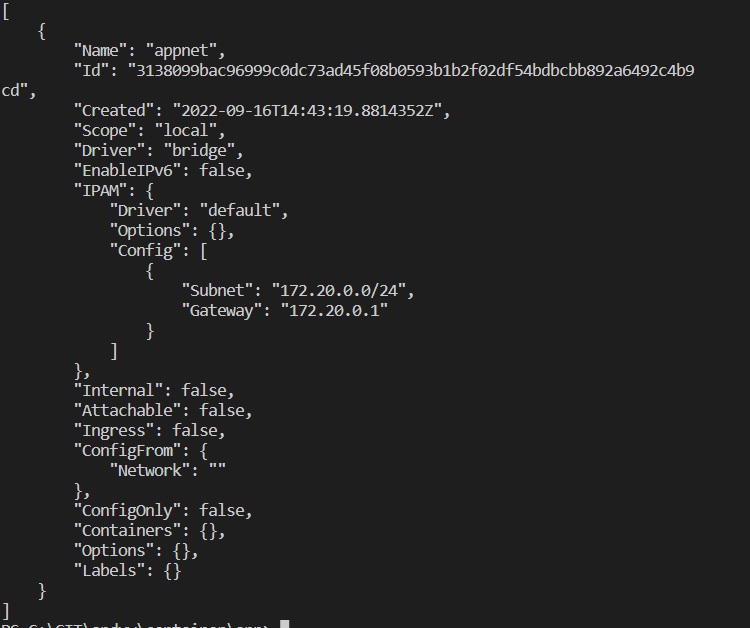
Create a new Docker network with the name appnet, the subnet 172.20.0.0/24, and the gateway 172.20.0.1.
Use the command:
docker network create --subnet=172.20.0.0/24 --gateway=172.20.0.1 appnet
Check the network that you have created via the command:
docker network inspect appnet command.
6. Run the app container using a specific network and IP address
Use the command:
docker run --net appnet --ip 172.20.0.100 -it -d -p 5000:5000 app
to specify that you want to run the container on a particular network with a particular IP address.
Open the web browser at address http://localhost:5000 and verify the IP address of the Docker container in the response.
Start the lb container. Use the command:
docker run --net appnet --ip 172.20.0.10 -it -d -p 8080:8080 lb
Open the web browser and access the http://localhost:8080 URL. Verify that you see the same output as in the previous test, but this time the request was done through the load balancer, confirming that the two containers were created correctly.

Shut down both containers using the docker kill command. Use the hash IDs that you have received when the two containers were created.
Use the command ‘docker ps’ to obtain the ids of the containers if necessary.
7. Define the load balancer container
The database container will use the mysql base image.
Configure a persistent volume for your container so that data will be persistent on starting and stopping containers. Add example data into the database. Change your application in such way that you will display the data from the database in the browser.
Create the db folder used for database storage.
cd to the working directory and start the database docker container.
Use the command:
docker run --env MYSQL_ALLOW_EMPTY_PASSWORD=yes --net appnet --ip 172.20.0.200 -v ~/working_directory/db:/var/lib/mysql -it mysql:5.7
In my example “working_directory” is named “container”)
The –net and –ip options specify the network and IP address of the container.
The -v option is used to mount the folder on the local file system of the folder in the container.
In the example, you will mount the ~/container/db folder on the local file system of the /var/lib/mysql folder in the container where database files are located. This option allows you to store persistent data on the local file system, which are not deleted even if you stop your container. If the container is stopped and you then and start another container with the same -v option, you will still have the same database in your container.
Connect to the database with the mysql command.
Use the following commands to create the database, to create the table, and to add some sample data into the table:
CREATE DATABASE inventory;
USE inventory;
CREATE TABLE routers (hostname VARCHAR(255), ip VARCHAR(255));
INSERT INTO routers VALUES ('r1.example.com', '192.168.1.1');
INSERT INTO routers VALUES ('r2.example.com', '192.168.1.2');
INSERT INTO routers VALUES ('r3.example.com', '192.168.1.3');
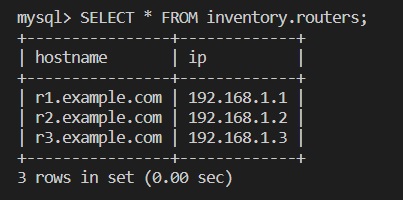
The ‘routers’ table is created and populated with three entries.
Check that the database has been created and that some sample entries have been added to the table routers.
Use the command:
SELECT * FROM inventory.routers; command.
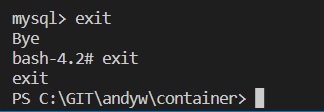
Exit the database with the exit command.
Exit the container with the exit command. Stop the container with the docker stop command (using the correct container ID)
Start the new database container with the same command:
docker run --env MYSQL_ALLOW_EMPTY_PASSWORD=yes --net appnet --ip 172.20.0.200 -v ~/container/db:/var/lib/mysql -it mysql:5.7
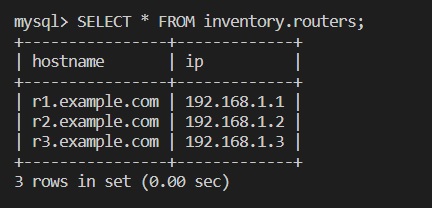
Connect to the container, connect to the database, and check that the data is still in the database.
After verification, exit the database and the container.
(Replace ID with your current running version)
docker exec -it eee9856fec3b bash
Verify that the data is still there, which means that the data is persistent.
Add code to connect to the database and select all routers added to the table.
The routers that are received from the database should be displayed in the web browser when accessing the application. Use the 172.20.0.200 IP address for the database.
main.py
from flask import Flask
import socket
from MySQLdb import connect

ip = socket.gethostbyname(socket.gethostname())

def get_routers():
    db = connect(host='172.20.0.200', db='inventory')
    c = db.cursor()
    c.execute("SELECT * FROM routers")
    return c.fetchall()

app = Flask(__name__)

@app.route('/')
def home():
    out = (
        f'Example container application.<br>'
        f'IP address of the server is {ip}.<br><br>'
    )
    out += 'List of routers in the inventory:<br>'
    for r in get_routers():
        out += f'-> Hostname: {r[0]}; IP: {r[1]}<br>'
    return out

if __name__ == '__main__':
    app.run(debug=True, host='0.0.0.0')
The get_routers() function, which is used to connect to the database and extract the entries from the database.
Update the requirements.txt file with the mysqlclient==1.4.5 entry.
requirements.txt
Flask==1.1.1
mysqlclient==1.4.5
Rebuild the application in the app folder using the command:
docker build -t app .
Then start the app container to verify it is working as expected:
docker run --net appnet --ip 172.20.0.100 -it -p 5000:5000 app
Open the web browser and navigate to http://localhost:5000.

Stop the application and database containers.
Press Ctrl+C to stop the application container.
Search for the database container ID and stop the container with the ‘docker ps’ and ‘docker stop
7. Putting it all together
Start all required containers: load balancer container, two application containers, and the database container.
Verify that the application is working as expected.
In the app folder start the load balancer container:
docker run --net appnet --ip 172.20.0.10 -p 8080:8080 -itd lb
Start two application containers. Both application containers should run in the background. Use the 172.20.0.100 IP address for the first container and use the 172.20.0.101 IP address for the second container.
docker run --net appnet --ip 172.20.0.100 -itd app
docker run --net appnet --ip 172.20.0.100 -itd app
Start the database container. Run the container in the background.
Use the 172.20.0.200 IP address. Map the db folder to the /var/lib/mysql folder in the container.
docker run --env MYSQL_ALLOW_EMPTY_PASSWORD=yes --net appnet --ip 172.20.0.200 -v ~/container/db:/var/lib/mysql -itd mysql:5.7
Check all containers are running using the ‘docker ps’ command.
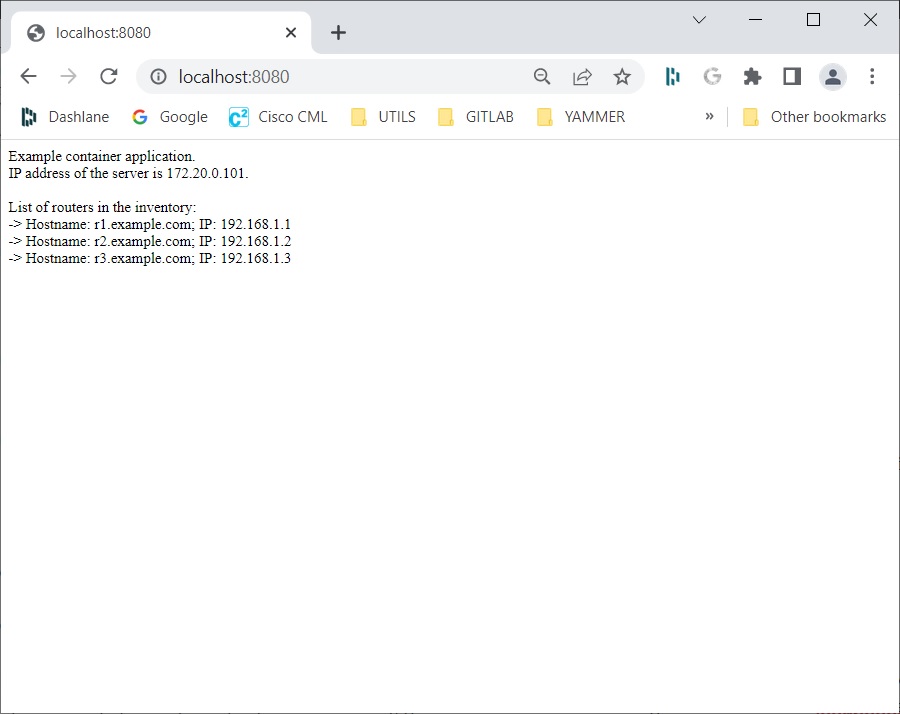
Open the web browser and use the http://localhost:8080 URL to access the application:
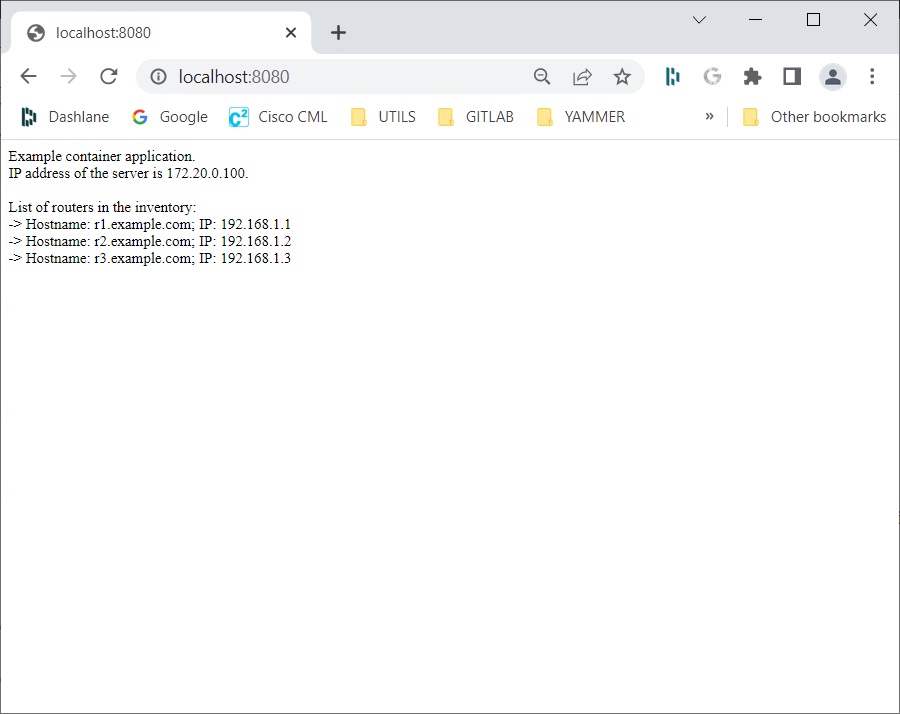
Refresh the web page a couple of times to see that you can also access the application on the other application container: