An alternative and possibly simpler approach to getting set up and using Aurelia.
The previous approach can be found at the following link
https://www.technical-recipes.com/2019/getting-started-with-aurelia-js/
Prerequisites
The Aurelia CLI has a pre-requisite, Node.js. Get it from here:
In Visual Studio Code press Ctrl + P and type the following command:
ext install aurelia
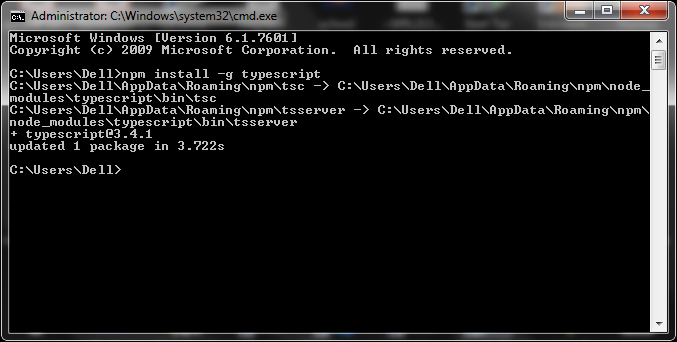
Still in Visual Studio Code, install the Aurelia CLI via the following command:
npm install aurelia-cli -g
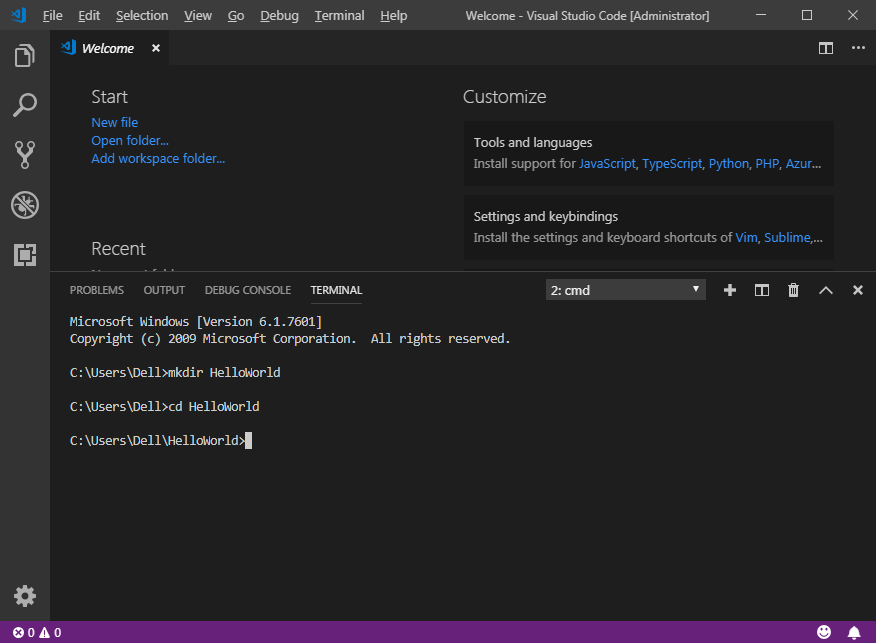
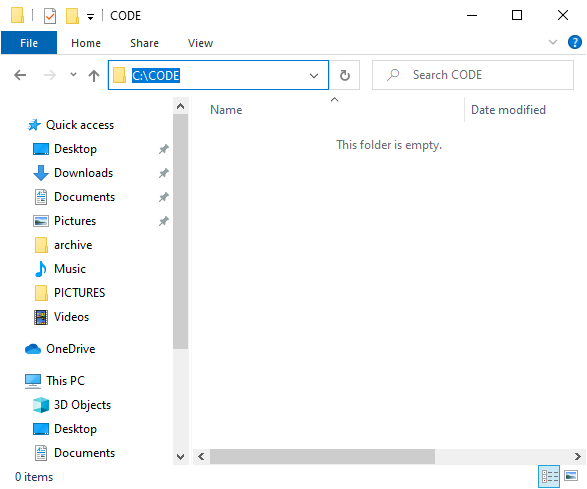
Step 1: Create a project folder
In Windows Explorer create a directory for your Aurelia code projects if you have not yet done so:
Step 2: Create the Aurelia project
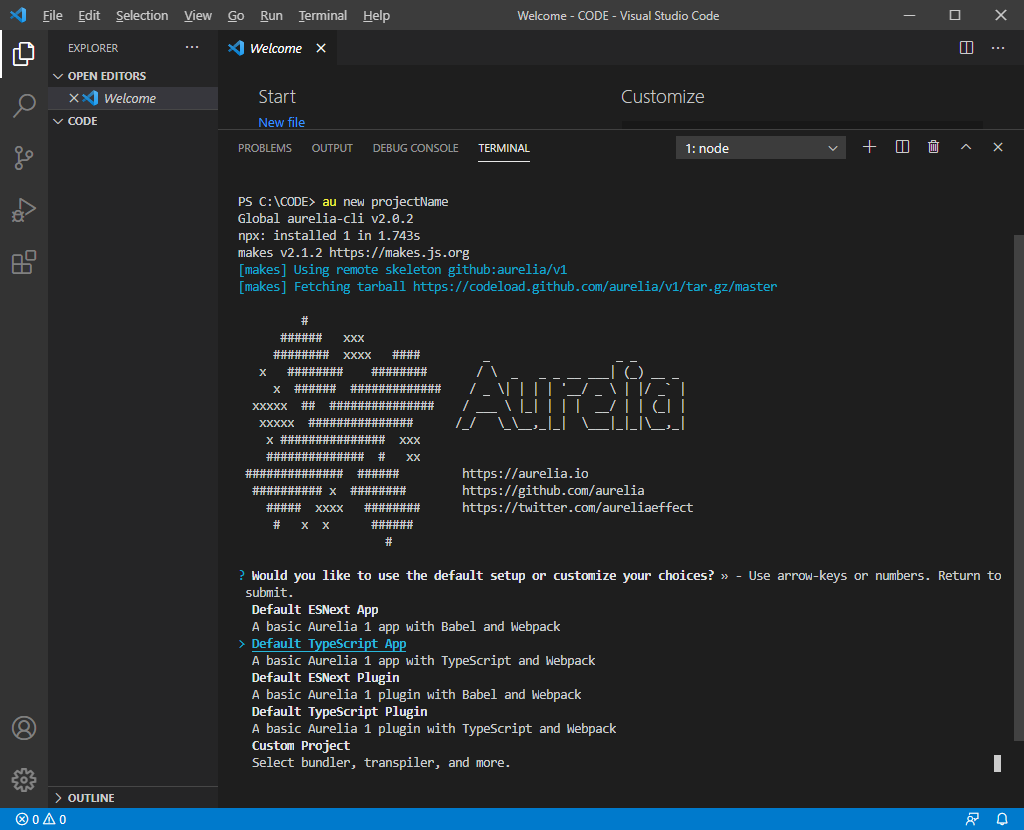
Open Visual Studio Code and in the terminal window enter the ‘au new’ command plus the name of your Aurelia project:
au new projectName
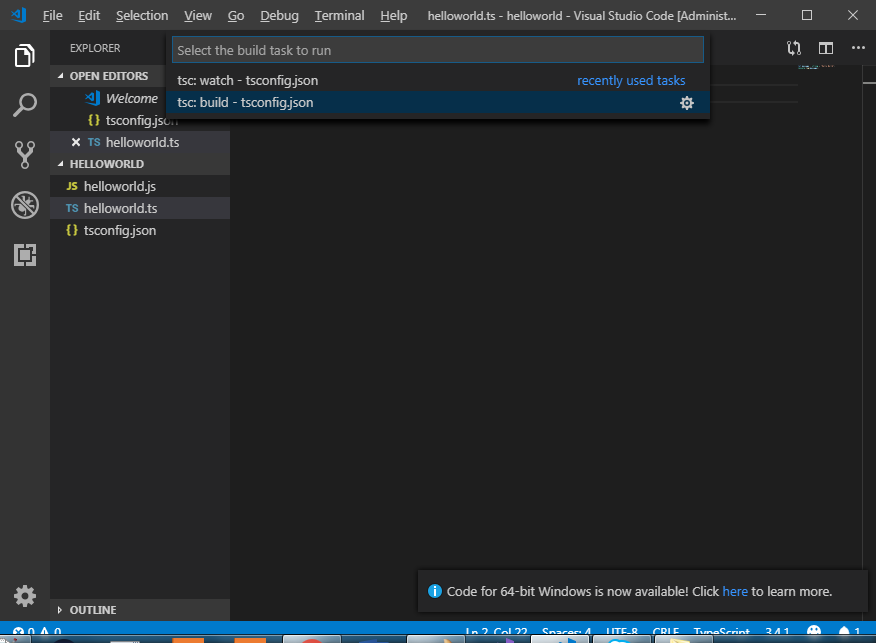
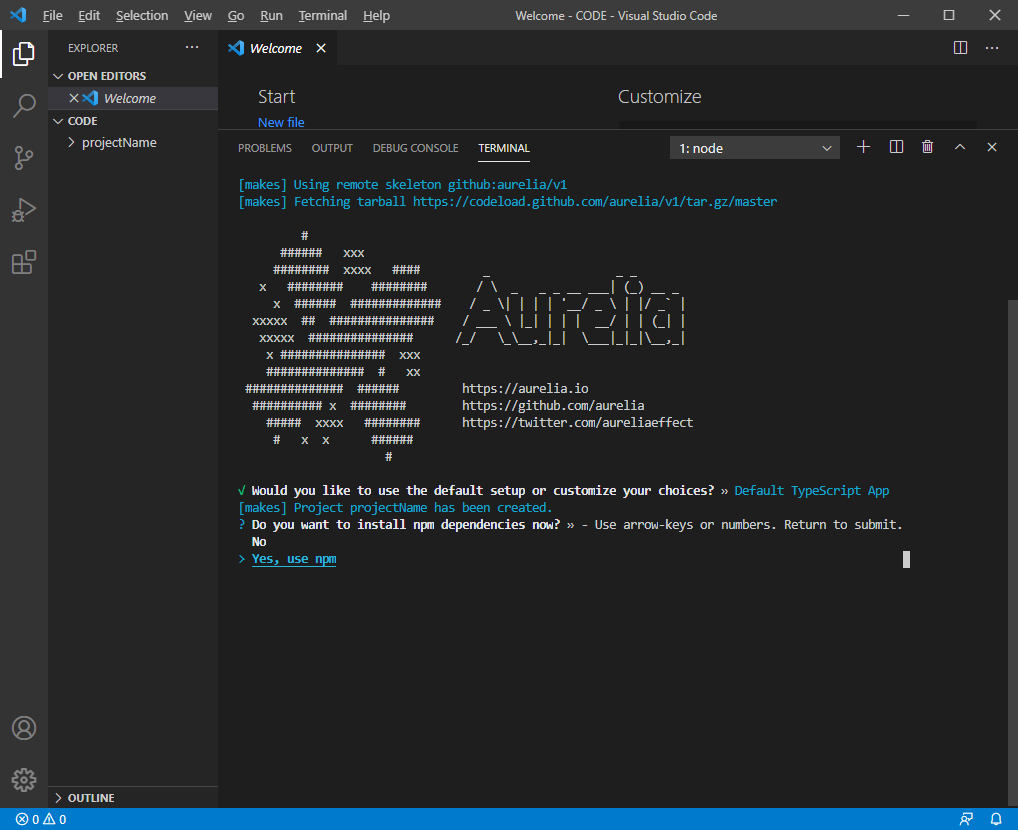
When prompted, select if you want your project to be TypeScript, ES etc and hit return:
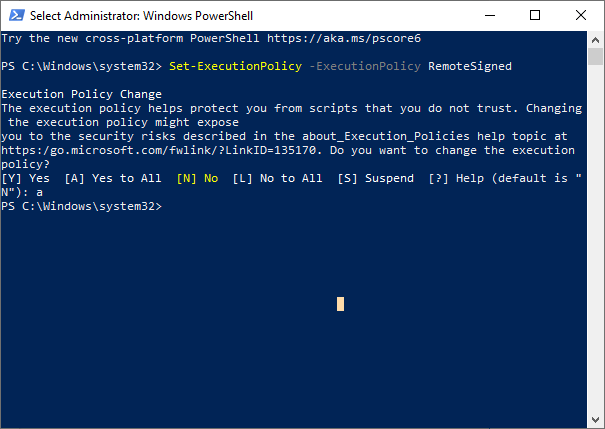
If you get the following error: “au.ps1 cannot be loaded because running scripts is disabled on this system”
A good fix can be found at the following StackOverflow link:
Be sure to run Powershell as an administrator and run the following command:
Set-ExecutionPolicy -ExecutionPolicy RemoteSigned
And then select yes to install project dependencies and hit return again:
Step 3: Run the Aurelia project
Navigate to the project folder that was created:
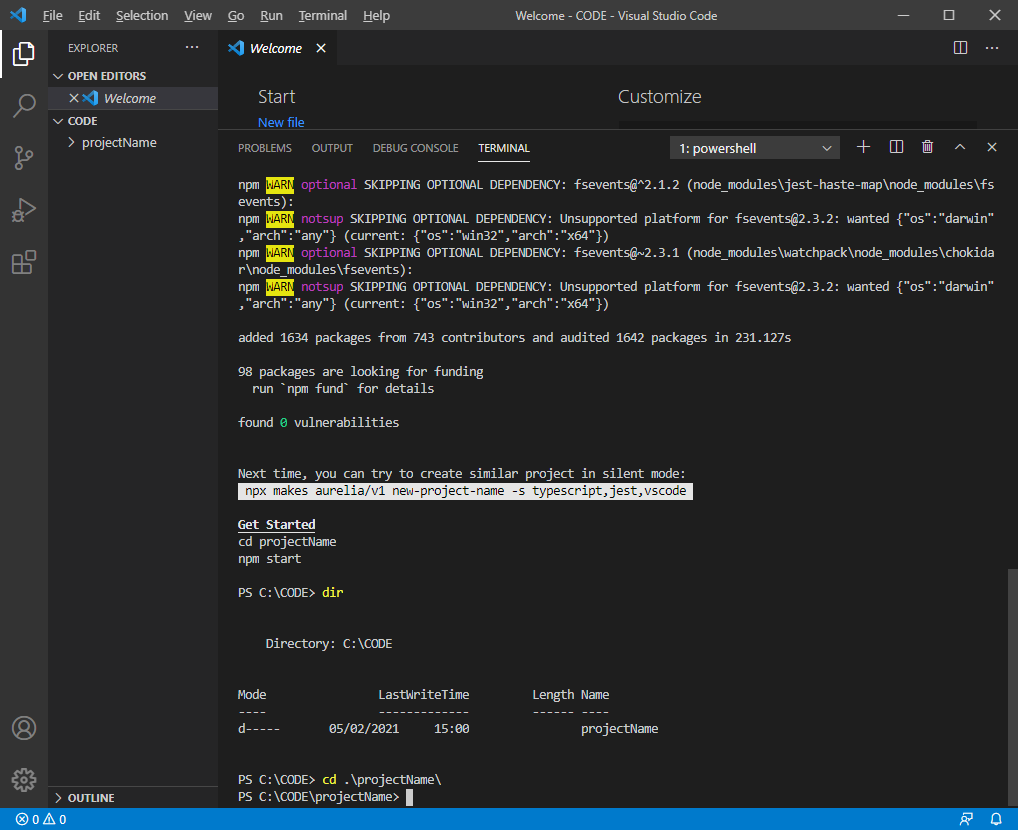
Type in the command au run:

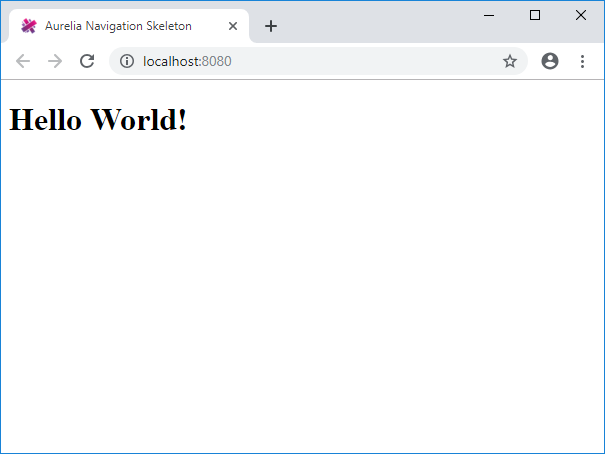
Copy the link url that is displayed http://localhost:8080 into a browser and refresh that page:
If you get problems…
Sometimes when running the command ‘au run’ you might get the following console output containing:
Error: listen EACCES 127.0.0.1:8080
Local aurelia-cli v1.0.0-beta.12
Starting 'configureEnvironment'...
Finished 'configureEnvironment'
Starting 'runWebpack'...
{ uid: 2,
  name: 'runWebpack',
  branch: false,
  error:
   { Error: listen EACCES 127.0.0.1:8080
    at Server.setupListenHandle [as _listen2] (net.js:1328:19)
    at listenInCluster (net.js:1386:12)
    at GetAddrInfoReqWrap.doListen [as callback] (net.js:1501:7)
    at GetAddrInfoReqWrap.onlookup [as oncomplete] (dns.js:72:10)
     errno: 'EACCES',
     code: 'EACCES',
     syscall: 'listen',
     address: '127.0.0.1',
     port: 8080,
     domainEmitter:
     ...
     ...
This link is useful for this problem:
https://teamtreehouse.com/community/solution-to-the-error-listen-eaddrinuse-1270018080
To summarise, use these commands:
1. Find the PID number for 127.0.0.1:8080
> netstat -ano | findstr :8080
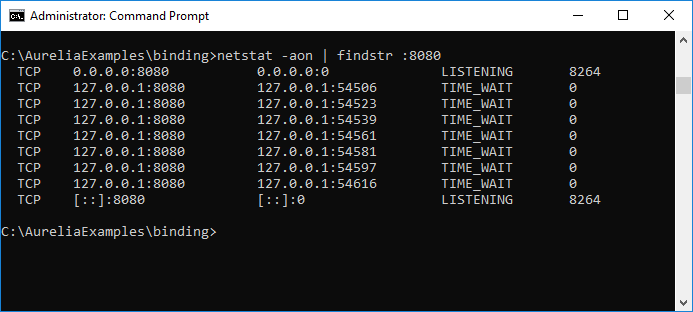
Which is 8264 in this example.
2. Kill the task for that PID number:
taskkill /pid 8264 /f
If that still fails…
There is another fix described in the link above, which is to modify the webpack.config.js file such that module.exports = … contains:
devServer: {
    historyApiFallback: true,
    contentBase: "./",
    port: 3000
  }
This will enable the dev environment to be run on a different port to 8080:
And try it again